
In today’s post on my 100 days of Cloud journey, I’m going to talk about Resource Groups in Azure and why they’re important.
Resource Groups are containers that hold related resources in an Azure Solution. Let’s say I want to run a Virtual Machine and its needs to run in a specific region (eg East US). I would create a Resource Group in East US, then create the resources required for the Virtual Machine (Storage Account, Virtual Network, and the Virtual Machine itself) within that Resource Group. This can be used to identify resources for a department or location for Billing Purposes.
I touched briefly on Resource Groups in yesterday’s post on Costs Management when I talked about assigning a budget to a resource group.
Sample Use Case
Let’s use an example to make this a bit clearer from a Cost Management perspective — your company has an Azure Subscription and has allocated a budget of $50000 a month. So, they set up a Budget Alert for that total against the Subscription. The company has 4 Departments — Accounts, Manufacturing, R&D and Sales.
The R&D Section is allocated its own Resources, and therefore gets its own R&D Resource Group with resources such as Virtual Machines within that. A budget of $10000 is allocated, and a Budget Alert Condition is set up in Azure against the R&D resource Group.
You can set up Resource groups in 3 ways — Azure Portal, Azure PowerShell and Azure CLI
Azure Portal Method
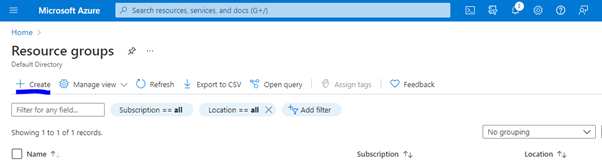
In the Azure Portal, search for Resource Groups in the Search Bar:

Click “Create”
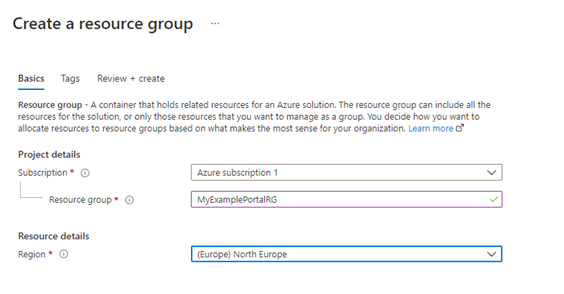
On the “Basics” tab, select the Subscription you wish to place the Resource Group in, the Name for the Resource Group and the Region you wish to place the Resource Group in:
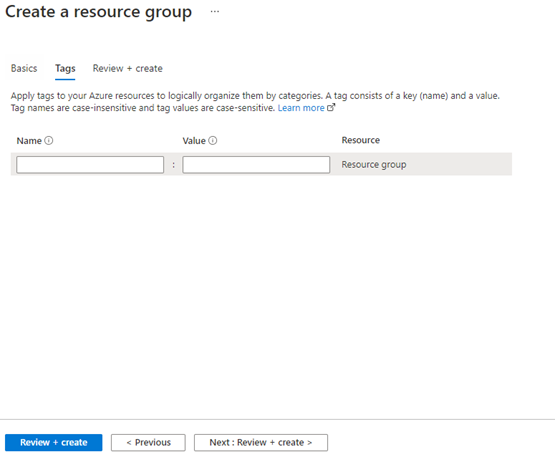
Click on the “Tags” tab — you can choose to create Tags on your resources. These will show up on your Billing Invoice meaning you can have multiple departments in the same Resource Group and bill them separately. We’ll leave this blank for now and discuss Tags in a future post. Click “Review and Create”:
And after less than a minute, the Resource Group shows as created:

What we’ll see in later posts is when we create Azure resources such as Virtual Networks and Machines, we have to place these in a Resource Group during creation.
And that’s the Portal way to do it! Onwards to PowerShell!
Azure PowerShell Method
In Day 2, we installed the Azure PowerShell Modules. So we need to run our
Connect-AzAccount
command again to load the login prompt and sign into our Azure Account:

We can see we’re getting a warning about MFA (we’ll deal with that in a later post on Security), but this has connected us to the Tenant:

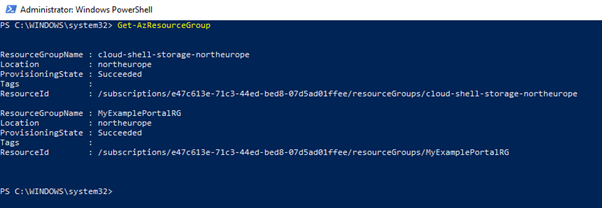
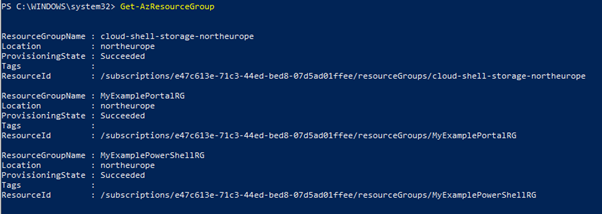
If we run
Get-AzResourceGroup
it shows all of the existing Resource groups in our subscription, including the one we created above in the Portal:
To create a Resource Group, its one command:
New-AzResourceGroup -Name MyExamplePowerShellRG -Location NorthEurope

And if we run the “Get” command again, we can see it there:
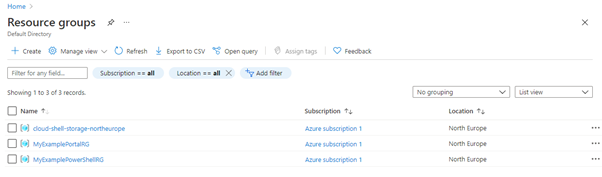
And also visible in the Portal:
To delete a Resource Group using PowerShell, its simply
Remove-AzResourceGroup
with the name of the group. And again we’ll run “Get” to confirm its gone:

Pretty slick, isn’t it. This needs to come with a warning though — deleting a Resource Group also deletes all resources contained within the Group. Permanently.
Luckily, we can apply “Locks” to Resource Groups or Resources to prevent them being deleted. We can specify 2 levels of locks:
- CanNotDelete — means users can read and modify the resource, but cannot delete it
- ReadOnly — means users can read the resource, but cannot modify or delete it
Locks can be used in conjunction with Azure RBAC (Role-Based Access Control) — again, we’ll cover that in a future post on Security.
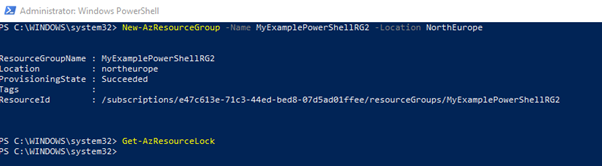
So, lets create another Resource Group, and if we run
Get-AzResourceLock
we see there are no locks associated:
And lets run the following command to create the lock:
New-AzResourceLock -LockName LockPSGroup -LockLevel CanNotDelete -ResourceGroupName MyExamplePowerShellRG2

If we run
Get-AzResourceLock
It gives us the same info as above:

So now, lets try and delete the Resource Group. I’ll run
Remove-AzResourceGroup -Name MyExamplePowerShellRG2

And it fails because there is a lock on the resource group, which is exactly what we wanted to see!
Azure CLI Method
Azure CLI is a cross platform tool that can be used on Windows, Linux or macOS Systems to connect to Azure and execute commands on Azure resources. The link below gives instructions on how to Install Azure CLI for your system of choice:
https://docs.microsoft.com/en-us/cli/azure/install-azure-cli
Once we have Azure CLI Installed, we run
az login
in PowerShell or Command Prompt. This will redirect us as above to a browser asking us to login to the Portal. Once this is done, it returns us to the PowerShell Window:

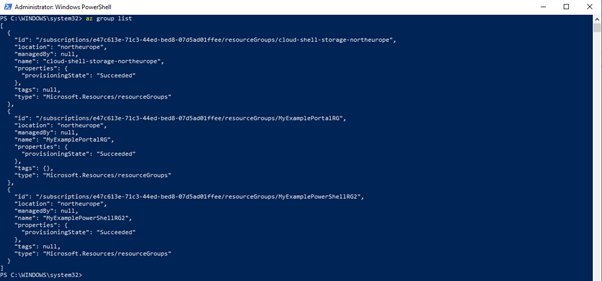
So, in short, similar results as above, but different commands. To list the Resource Groups, run
az group list
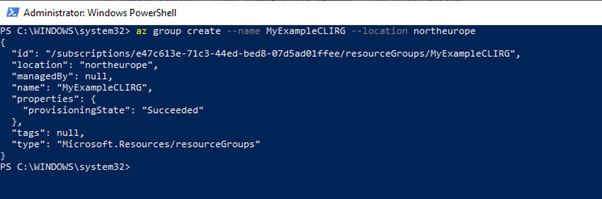
To create a Resource Group, run
az group create
To create a lock, it
az lock create

And to delete a Resource Group (which should fail after creating the lock), the command is
az group delete --name MyExampleCLIRG

And as we can see it fails as expected.
Conclusion
As you noticed, I ran through the Azure CLI section as I’m using different commands to achieve the same result as the PowerShell section. I haven’t used Azure CLI a lot, as (like most people from a Microsoft System Admin background) I’m more of a PowerShell person traditionally. But as we’re using Azure resources in later posts, I’ll try to use it more as there will come a day when I’ll need it.
And that’s all for Day 3! Hope you enjoyed this post, until next time!!

thanks for this clarification
LikeLike