Microsoft has announced that Azure Lab Services will be retired on June 28, 2027. New customer sign-ups have already been disabled as of July 2025, which means the clock is officially ticking for anyone using the service today.
You can read the official announcement on Microsoft Learn here: https://learn.microsoft.com/en-us/azure/lab-services/retirement-guide
While 2027 may feel a long way off, now is the time to take action!
For those of you who have never heard of Azure Lab Services, lets take a look at what it was and how you would have interacted with it (even if you didn’t know you were!).
What is/was Azure Lab Services?
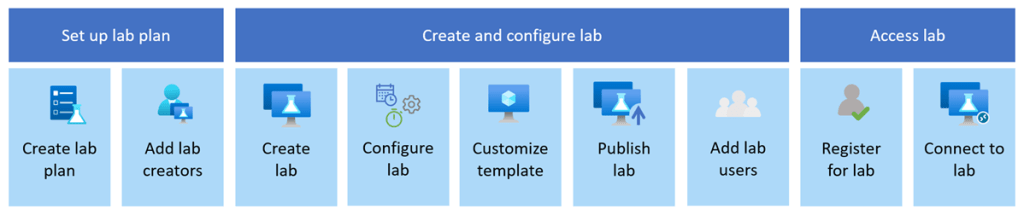
Azure Lab Services allowed you to create labs with infrastructure managed by Azure. The service handles all the infrastructure management, from spinning up virtual machines (VMs) to handling errors and scaling the infrastructure.
If you’ve ever been on a Microsoft course, participated in a Virtual Training Days course, or attended a course run by a Microsoft MCT, Azure Lab Services is what the trainer would have used to facilitate:
- Classrooms and training environments
- Hands-on labs for workshops or certifications
- Short-lived dev/test environments
Azure Lab Services was popular because it abstracted away a lot of complexity around building lab or classroom environments. Its retirement doesn’t mean Microsoft is stepping away from virtual labs—it means the responsibility shifts back to architecture choices based on the requirements you have.
If you or your company is using Azure Lab Services, the transition to a new service is one of those changes where early planning pays off—especially if your labs are tied to academic calendars, training programmes, or fixed budgets.
So what are the alternatives?
Microsoft has outlined several supported paths forward. None are a 1:1 replacement, so the “right” option depends on who your users are and how they work. While these solutions aren’t necessarily education-specific, they support a wide range of education and training scenarios.
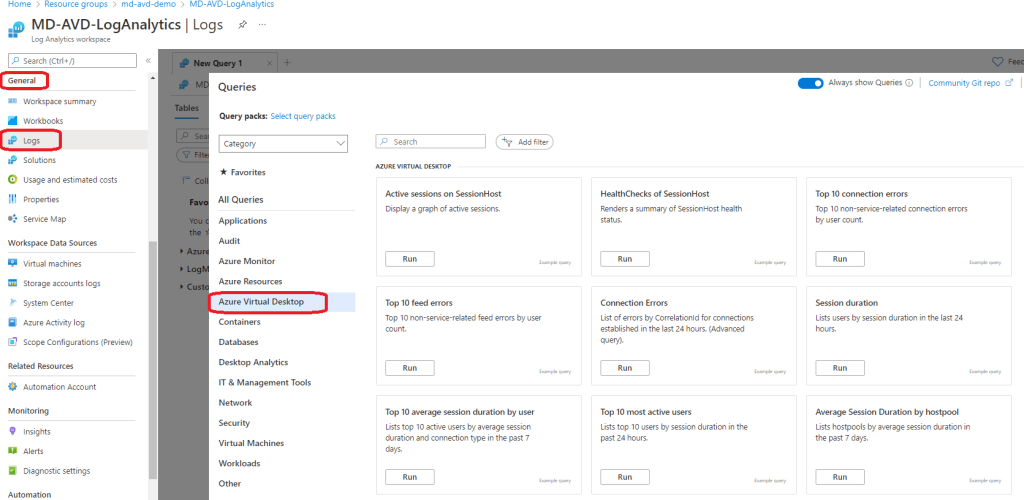
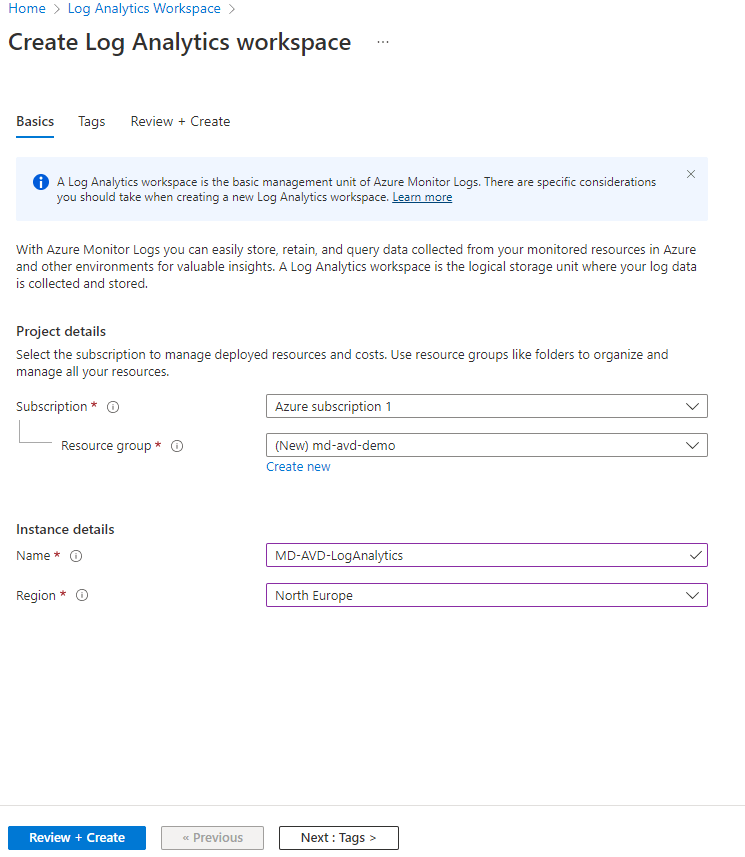
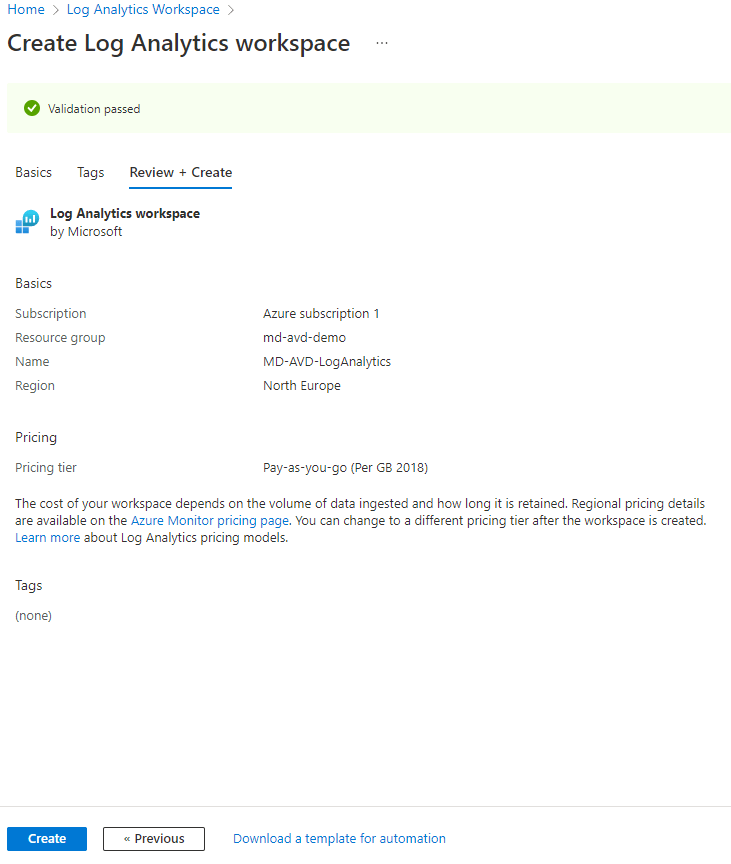
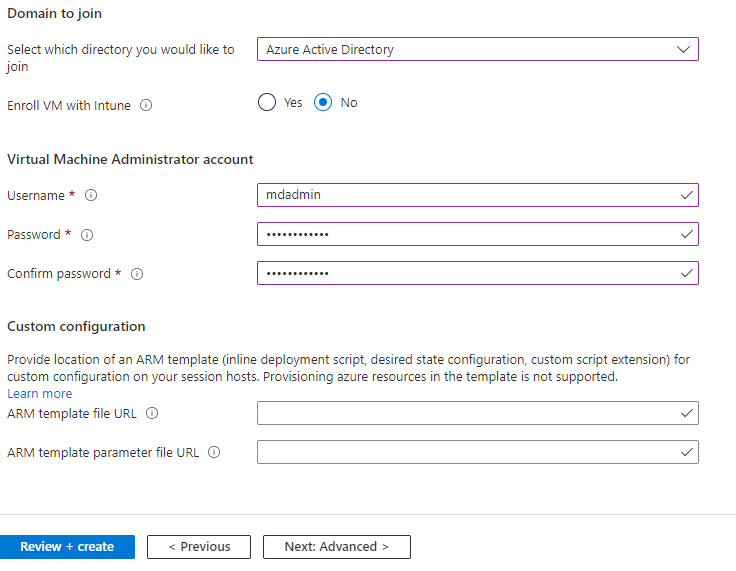
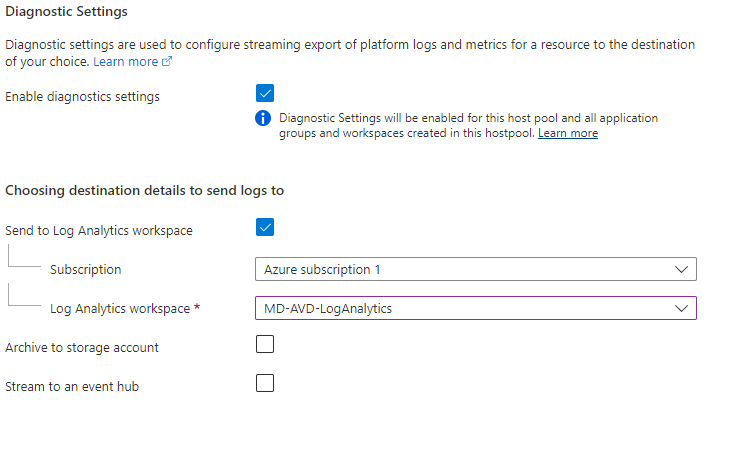
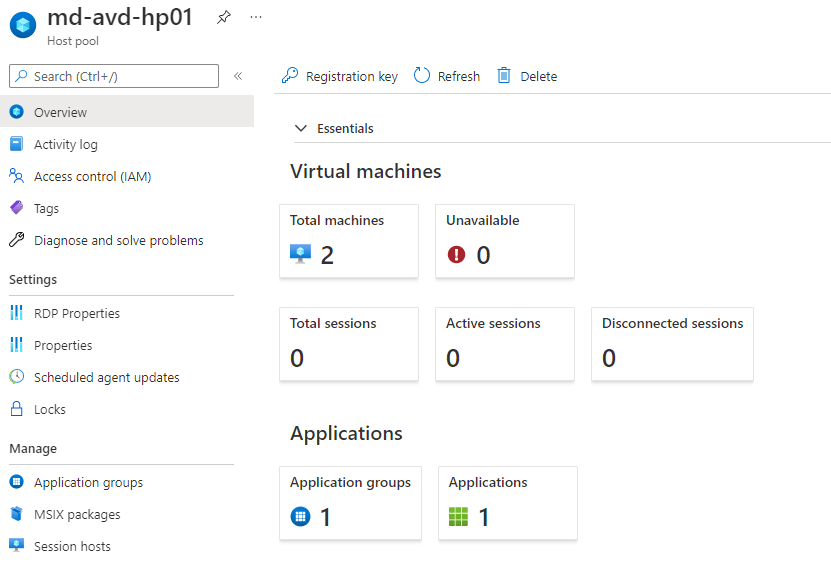
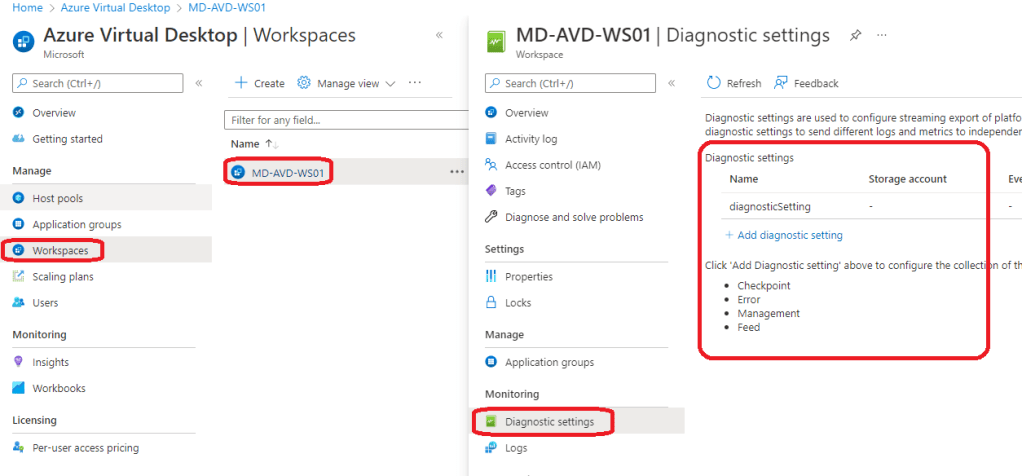
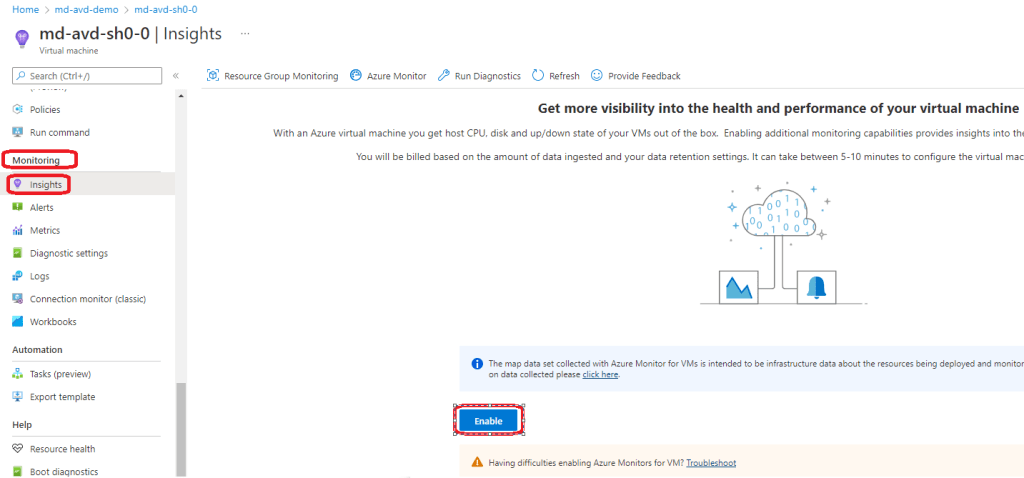
Azure Virtual Desktop (AVD)

🔗 https://learn.microsoft.com/azure/virtual-desktop/
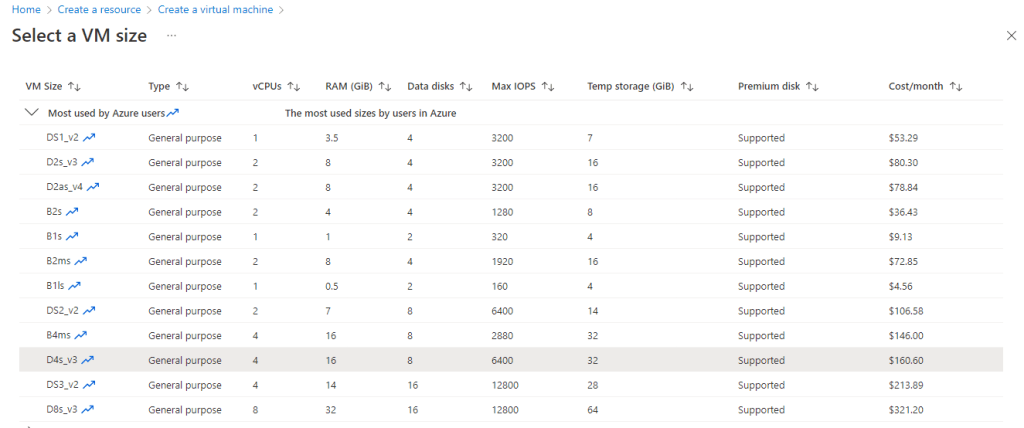
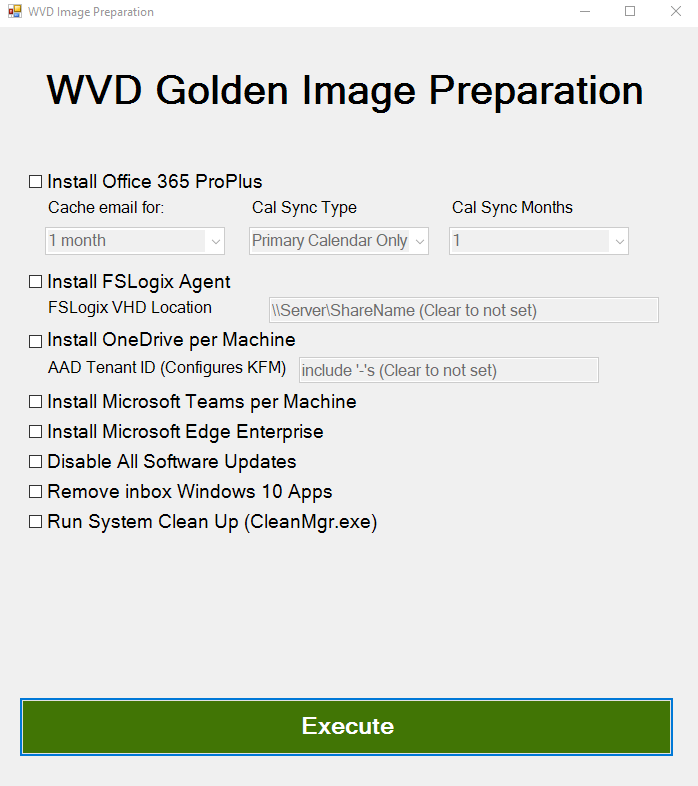
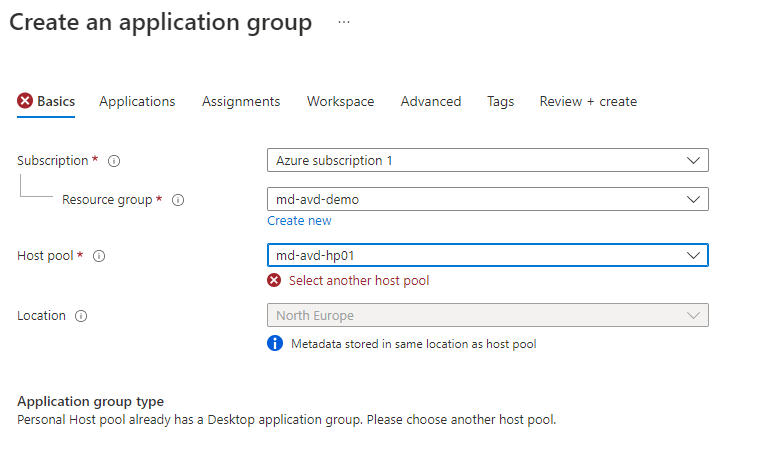
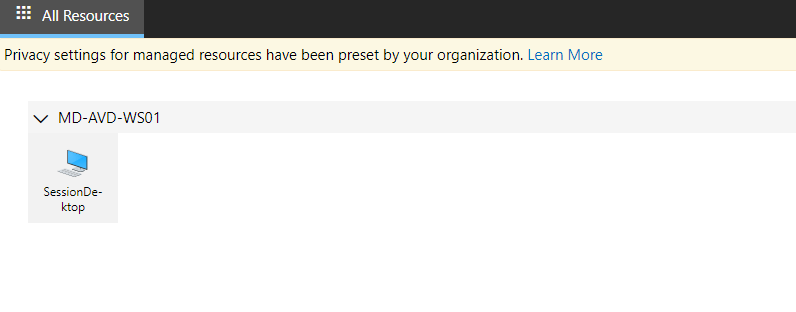
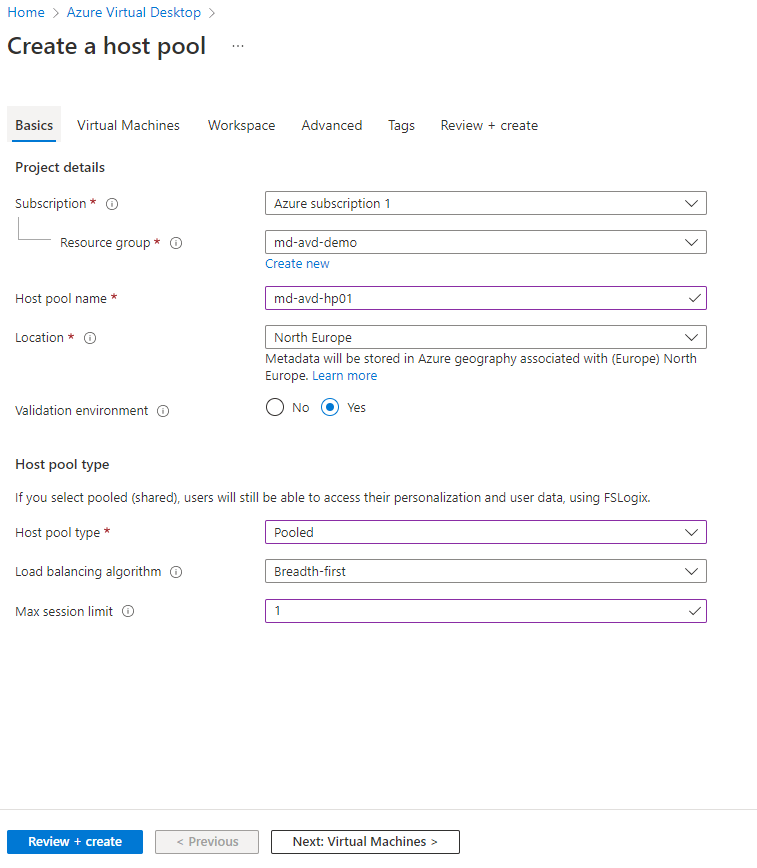
AVD is the most flexible option and the closest match for large-scale, shared lab environments. AVD is ideal for providing full desktop and app delivery scenarios and provides the following benefits:
- Multi-session Windows 10/11, which either Full Desktop or Single App Delivery options
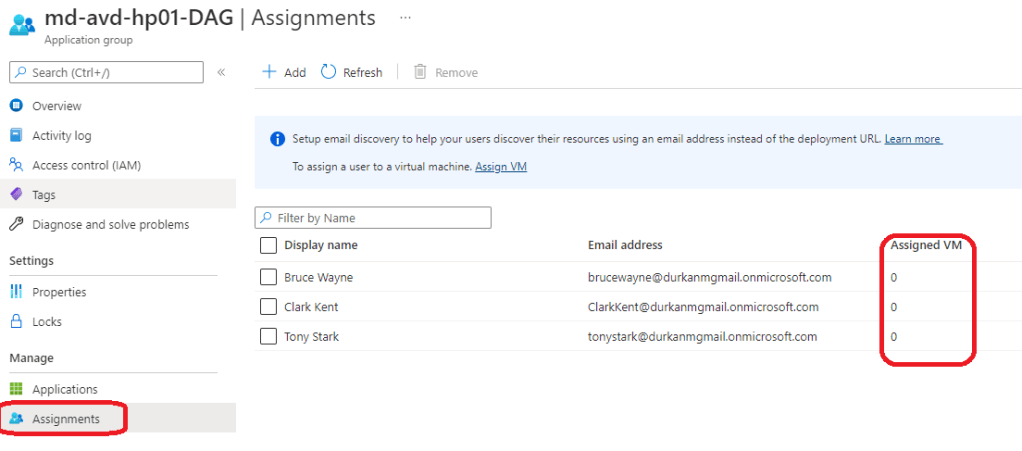
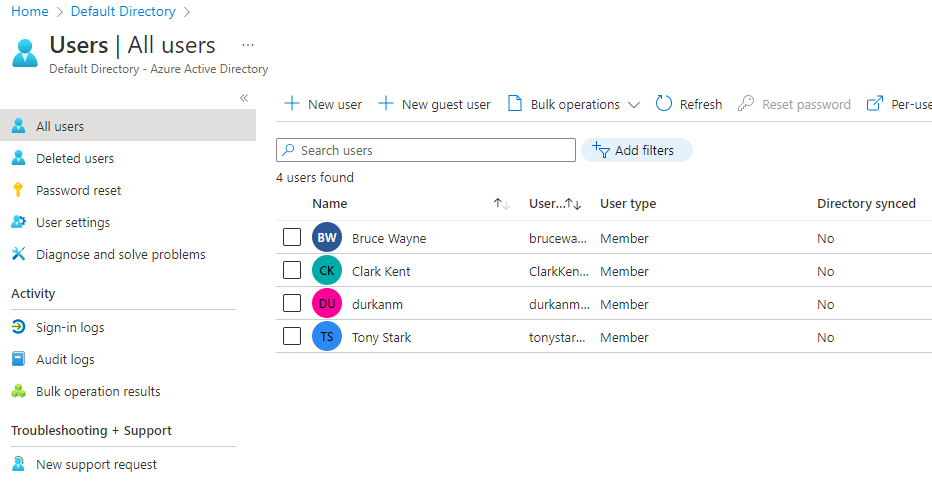
- Full control over networking, identity, and images. One of the great new features of AVD (still in preview mode) is that you can now use Guest Identities in your AVD environments, which can be really useful for training environments and takes the overhead of user management away.
- Ideal for training labs with many concurrent users
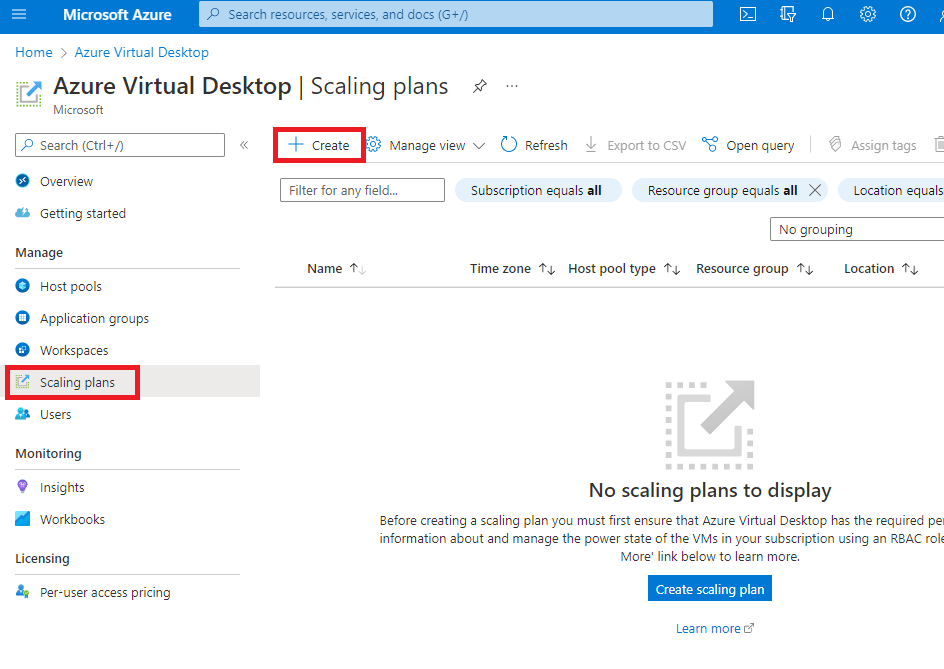
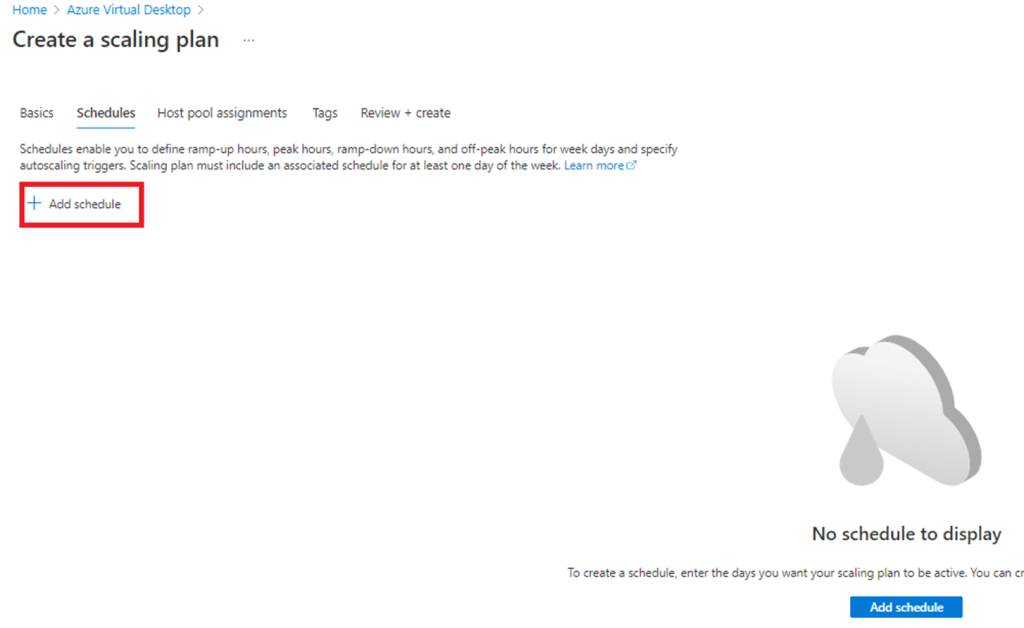
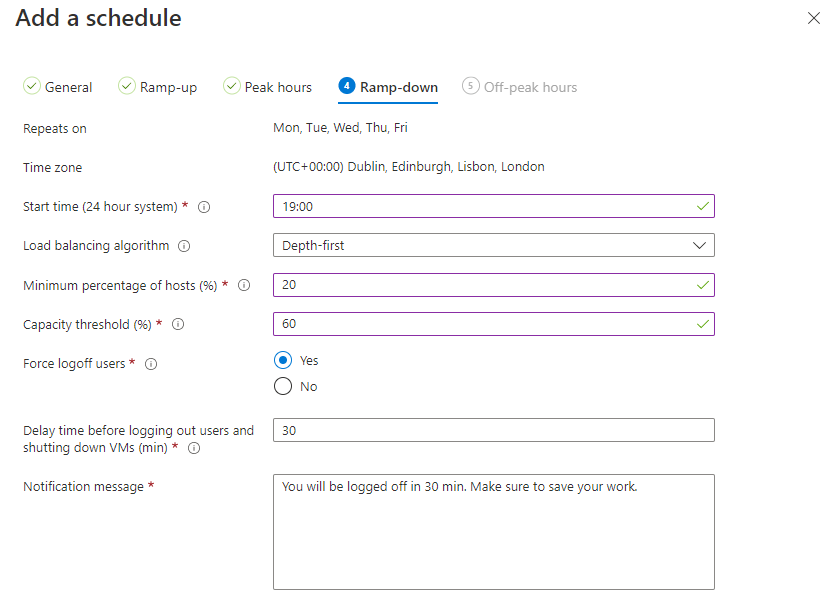
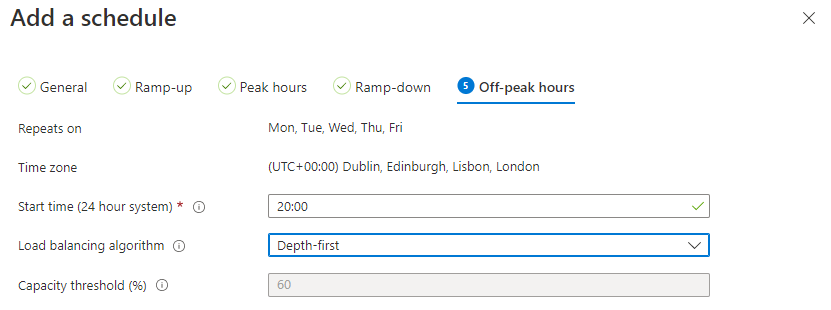
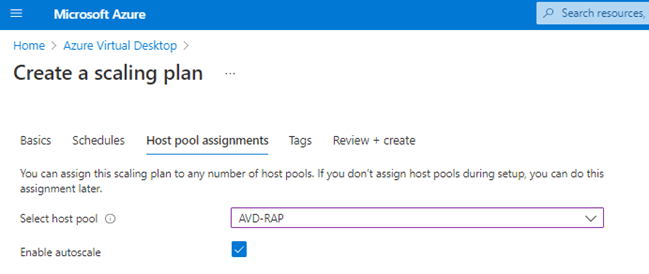
- Supports scaling plans to reduce costs outside working hours (check out my blog post on using Scaling Plans in your AVD Environments)
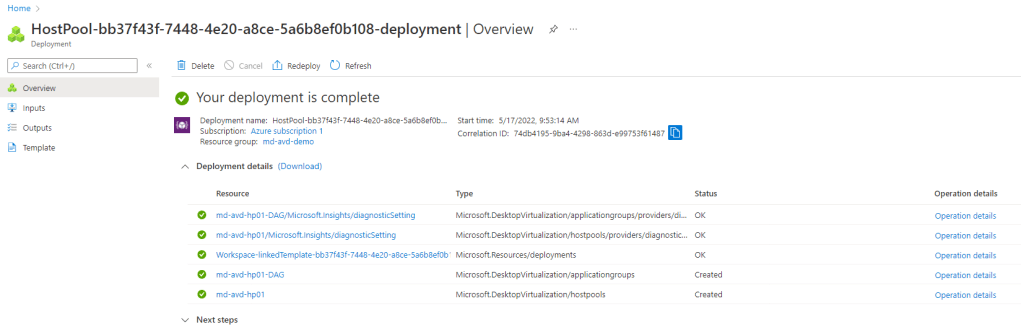
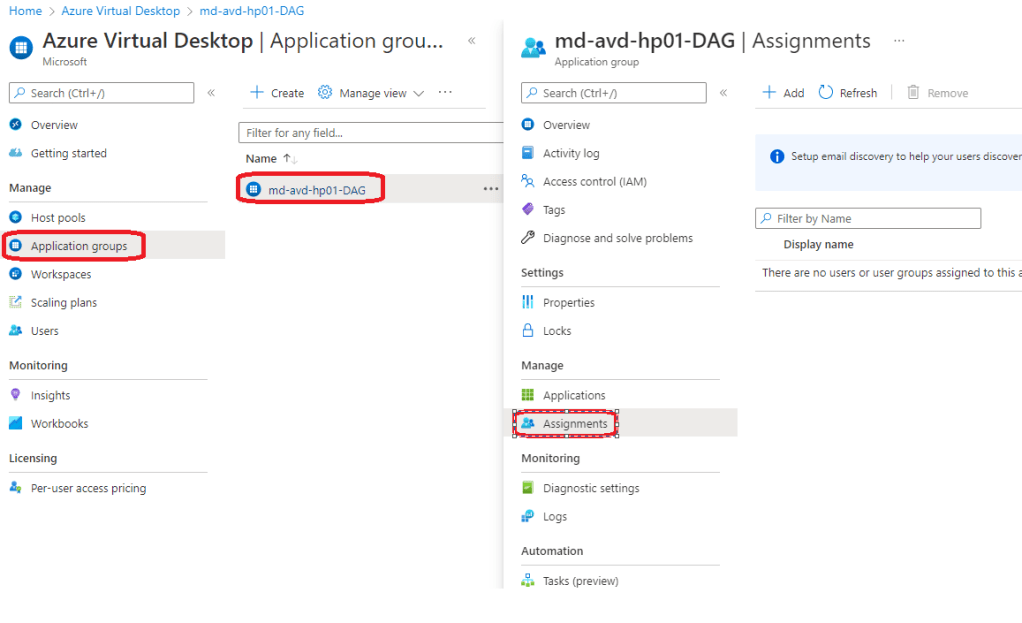
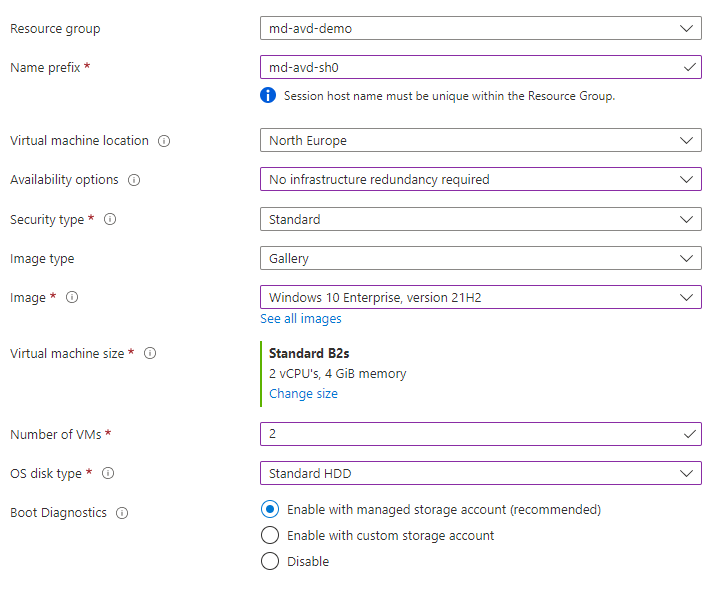
I also wrote a set of blog posts about setting up your AVD environments from scratch which you can find here and here.
Windows 365
🔗 https://learn.microsoft.com/windows-365/
Windows 365 offers a Cloud PC per user, abstracting away most infrastructure concerns. Cloud PC virtual machines are Microsoft Entra ID joined and support centralized end-to-end management using Microsoft Intune. You assign Cloud PC’s by assigning a license to that user in the same way as you would assign Microsoft 365 licences. The benefits of Windows 365 are:
- Simple to deploy and manage
- Predictable per-user pricing
- Well-suited to classrooms or longer-lived learning environments
The trade-off is that there is less flexibility and typically higher cost per user than shared AVD environments, as the Cloud PC’s are dedicated to the users and cannot be shared.
Azure DevTest Labs

🔗 https://learn.microsoft.com/azure/devtest-labs/
A strong option for developer-focused labs, Azure DevTest labs are targeted at enterprise customers. It also has a key difference to the other alternative solutions, its the only one that offers access to Linux VMs as well as Windows VMs.
- Supports Windows and Linux
- Built-in auto-shutdown and cost controls
- Works well for dev/test and experimentation scenarios
Microsoft Dev Box
🔗 https://learn.microsoft.com/dev-box/
Dev Box is aimed squarely at professional developers. It’s ideal for facilitating hands-on learning where training leaders can use Dev Box supported images to create identical virtual machines for trainees. Dev Box virtual machines are Microsoft Entra ID joined and support centralized end-to-end management with Microsoft Intune.
- High-performance, secure workstations
- Integrated with developer tools and workflows
- Excellent for enterprise engineering teams
However, its important to note that as of November 2025, DevBox is being integrated into Windows365. The service is built on top of Windows365, so Micrsoft has decided to unify the offerings. You can read more about this announcement here but as of November 2025, Microsoft are no longer accepting new DevBox customers – https://learn.microsoft.com/en-us/azure/dev-box/dev-box-windows-365-announcement?wt.mc_id=AZ-MVP-5005255
When First-Party Options Aren’t Enough
If you relied heavily on the lab orchestration features of Azure Lab Services (user lifecycle, lab resets, guided experiences), you may want to evaluate partner platforms that build on Azure:
- Nerdio – https://www.getnerdio.com
- Spektra Systems – https://www.spektrasystems.com
- Apporto – https://www.apporto.com
- Skillable – https://www.skillable.com
These solutions provide:
- Purpose-built virtual lab platforms
- User management and lab automation
- Training and certification-oriented workflows
They add cost, but also significantly reduce operational complexity.
Comparison: Azure Lab Services Alternatives
Lets take a look at a comparison of each service showing cost, use cases and strengths:
| Service | Typical Cost Model | Best Use Cases | Key Strength | When 3rd Party Tools Are Needed |
|---|---|---|---|---|
| Azure Virtual Desktop | Pay-per-use (compute + storage + licensing) | Large classrooms, shared labs, training environments | Maximum flexibility and scalability | For lab orchestration, user lifecycle, guided labs |
| Windows 365 | Per-user, per-month | Classrooms, longer-lived learning PCs | Simplicity and predictability | Rarely needed |
| Azure DevTest Labs | Pay-per-use with cost controls | Dev/test, experimentation, mixed OS labs | Cost governance | For classroom-style delivery |
| Microsoft Dev Box | Per-user, per-month | Enterprise developers | Performance and security | Not typical |
| Partner Platforms | Subscription + Azure consumption | Training providers, certification labs | Turnkey lab experiences | Core dependency |
Don’t Forget Hybrid Scenarios
If some labs or dependencies must remain on-premises, you can still modernise your management approach by deploying Azure Virtual Desktop locally and manage using Azure Arc, which will allow you to
- Apply Azure governance and policies
- Centralise monitoring and management
- Transition gradually toward cloud-native designs
Start Planning Now
With several budget cycles between now and June 2027, the smartest move is to:
- Inventory existing labs and usage patterns
- Map them to the closest-fit replacement
- Pilot early with a small group of users
Azure Lab Services isn’t disappearing tomorrow—but waiting until the last minute will almost certainly increase cost, risk, and disruption.
If you treat this as an architectural evolution rather than a forced migration, you’ll end up with a platform that’s more scalable, more secure, and better aligned with how people actually learn and work today.