
Its Day 75 of my 100 Days of Cloud journey, and today I’m looking at how Azure AD Connect is configured and how it synchronizes your on-premise identities to the Azure AD Tenant for use in Microsoft 365.
But first up, lets take a look at how we can create our Microsoft 365 tenancy and get it configured for use with our domains so its ready for use.
Create your Microsoft 365 Tenant
To create your tenant, you need to browse to the Office 365 E3 product page and click on the “Free Trial” option. E3 is the default trial option as it gives you the best experience of all the tools available for 30 days:
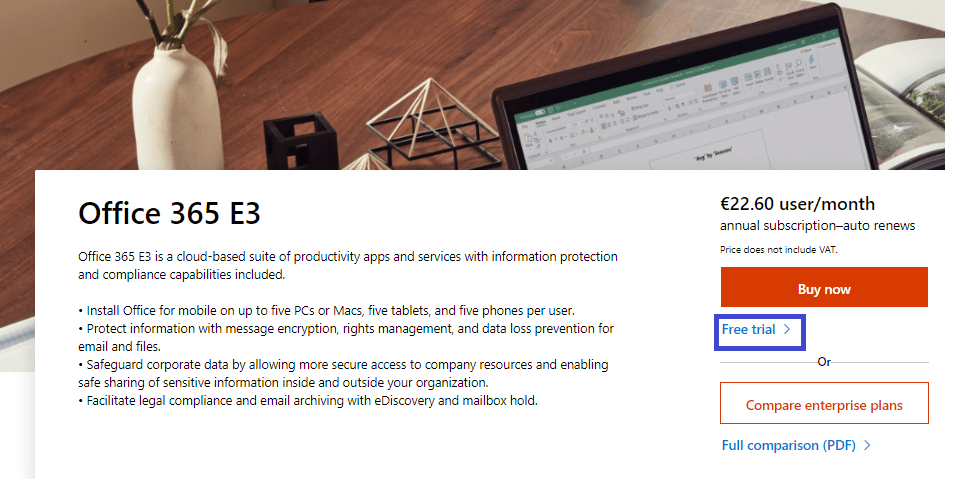
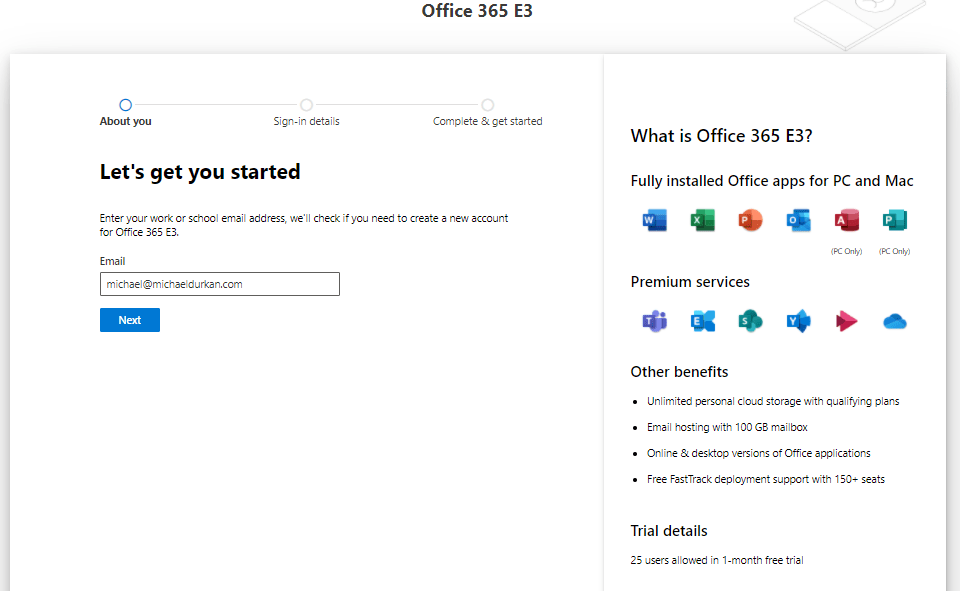
Clicking on “Free Trial” brings you into the registration screen. You need to enter the first email address you want to use with the tenant. This won’t configure anything, its just checking that the domain isn’t already configured for Microsoft 365.
We can also see on the right of the screen whats included with the E3 license, plus the benefits. We are allowed up to 25 users for the trial, this is a good number for testing.
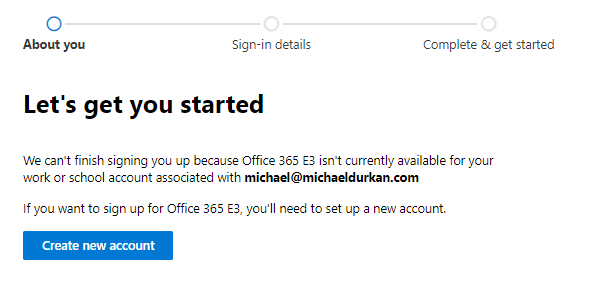
Click on “Create New Account”:
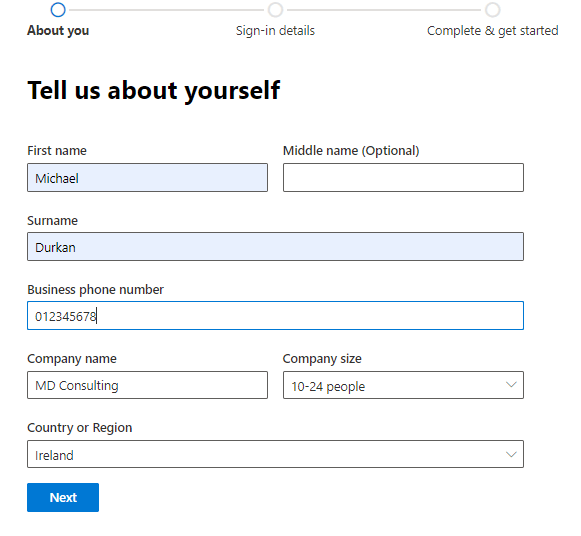
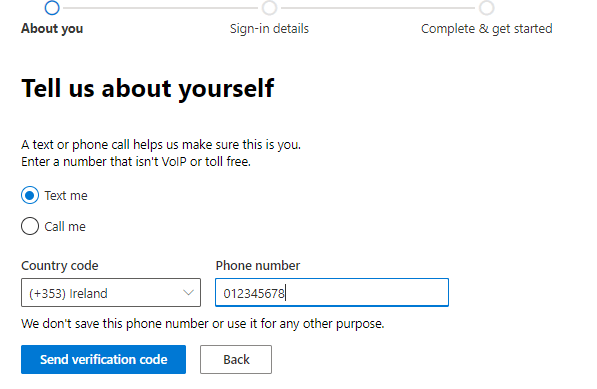
This brings you into the “Tell us about yourself” screen where you need to answer some questions about your organisation:
When you click next, you are asked to verify your identity via SMS or Call:
Once you get verified, you are then prompted to add your domain name. Add the domain name. Try to use the same domain name as the primary email domain that you want to use with the tenant.
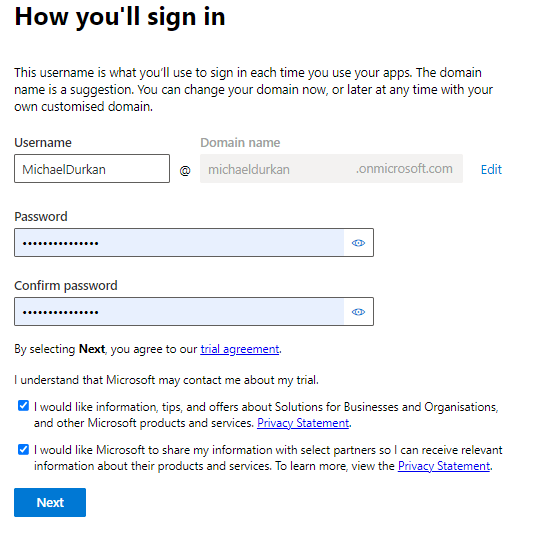
Click “Next” and this will create your account. Once that completes, the screen below will appear and you can click on “Manage your subscription” to log in
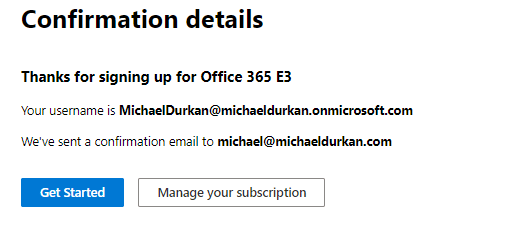
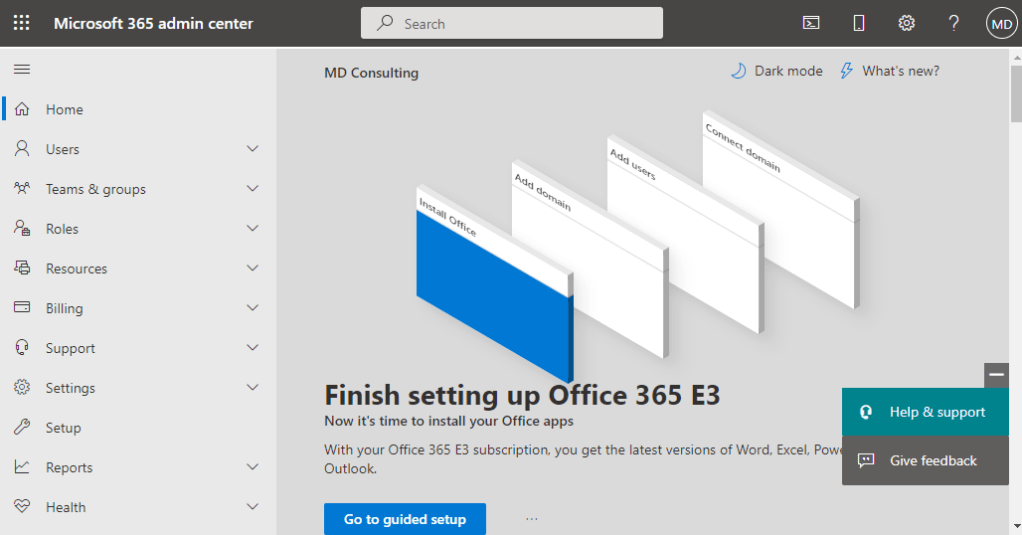
And now you are logged into the Microsoft 365 admin center and can manage your subscription! This is always available to log on to at https://admin.microsoft.com/ using the credentials you created above.
NOTE – The tenant I have set up above is a trial and I’m only going to use it for testing and for the purposes of the blog. So at some point in the next 30 days, I’m going to delete it as I’ve done with Azure resources in previous blog posts and I would advise you to do so as well (unless you really want to pay for your own Microsoft 365 tenant). The article here shows how to do this from within the Microsoft 365 Services and subscriptions page.
Add your Domain to your tenant
So lets fast forward 30 days – the trial has ended, your users are happy and you’ve decided as a business to migrate your existing workloads to Microsoft 365. The next step is to add your production domain and verify it.
So in the Microsoft 365 admin center, go to the “Settings” menu and select “Domains”. You have the option here to buy a domain which will redirect you to a 3rd party provider, and you can only use this option once your trial period has ended. This is useful if you need
However, we’re going to add our existing domain, so click on “Add Domain”

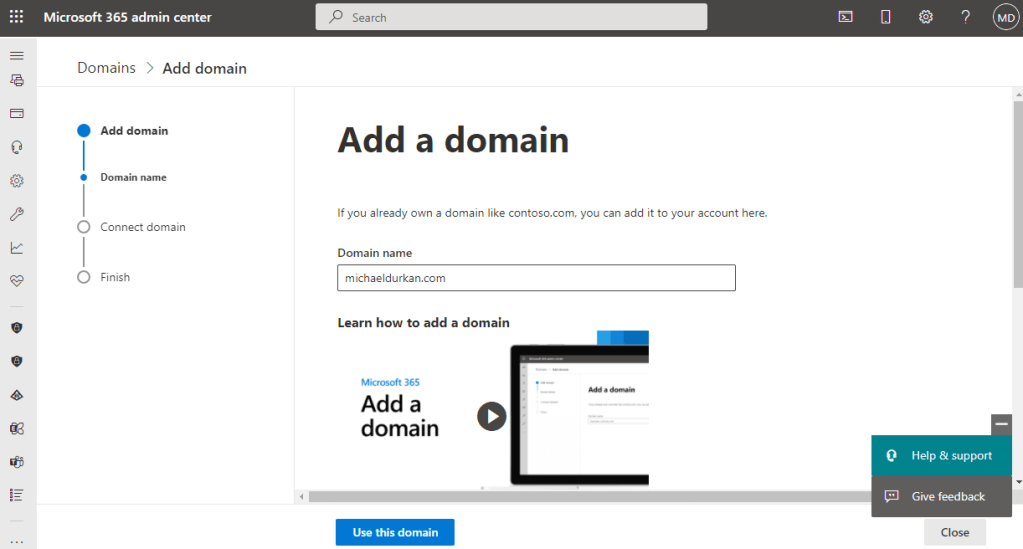
This brings us into the “Add Domain” screen. Enter the domain name you want to use and click on the “Use this Domain” button at the bottom of the screen:
The next screen provides a list of options for verifying the domain. Now, because the blog is on WordPress, its giving me the option to sign in to WordPress to verify. Unless your Website is hosted on WordPress, you’re not going to see this option, but wil see the 3 options below that.
The most common is the option to “Add a TXT record to the domain’s DNS records”, so we’ll select that and click “Continue”:

This detects who the hosting provider is, and provides you with the TXT record you need to add to your public DNS Records, so I’ll do that in the background and click “Verify” (this may take up to 30 minutes after you add the TXT to work):

Once thats verified, we get a screen asking us to connect our domain and set up DNS records. Again, I’m seeing the option to let Microsoft add the records for me automatically to WordPress (and this may also work depending on who your hosting provider is), however I’m going to choose the second option to add my own DNS records so we can take a look at whats provided:

The next screen gives me the MX Records I need to get set up with email initially, and there are also options for Skype for Business and Intune MDM at the bottom of the screen if required.
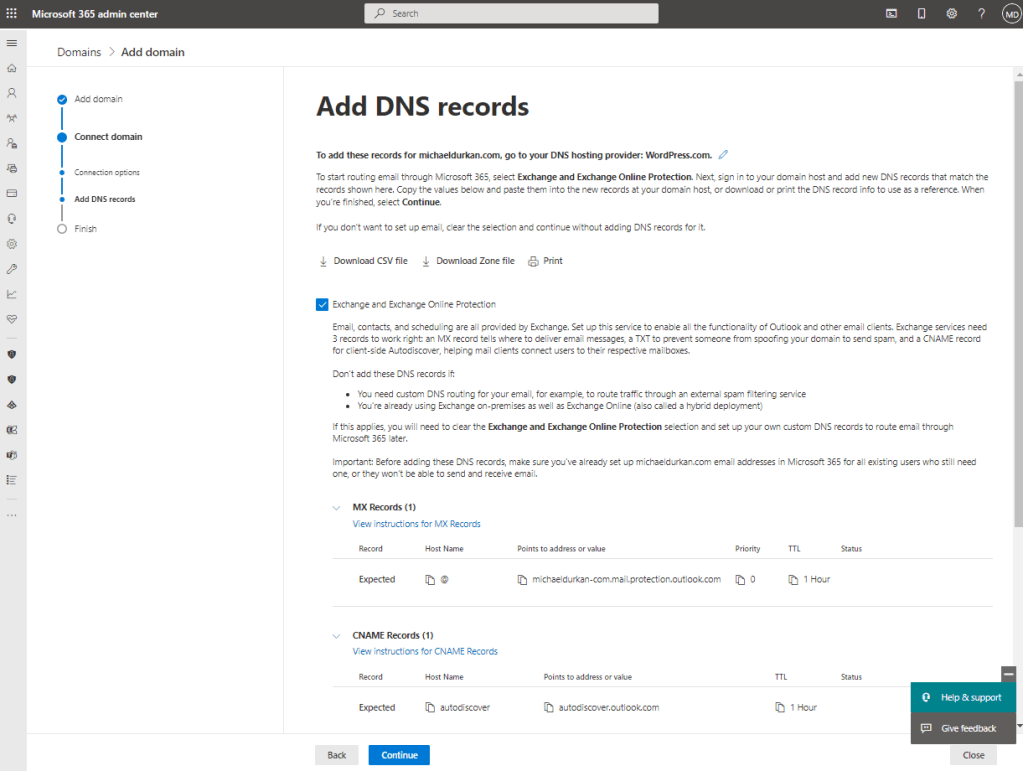
I wanted to show you this page to ensure you understand the process and how it works. However at this stage, I’m going to go back to the previous screen and click “Skip and do this later”. The reason is that this will impact mailflow, and our configuration doesn’t have a Hybrid configuration in place yet to support the mailflow.
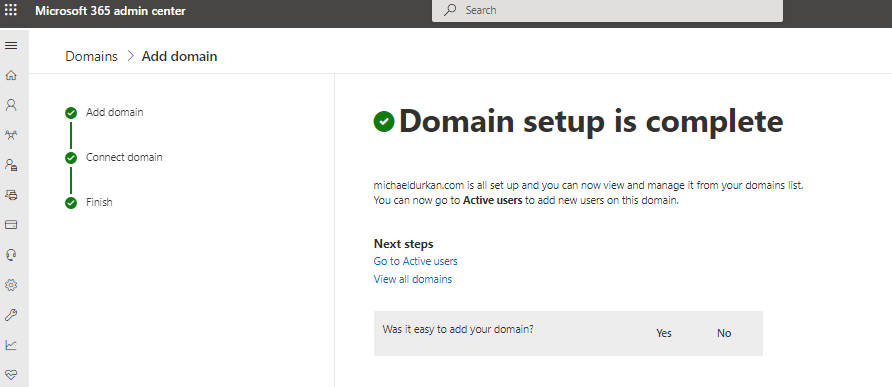
Once we finish, we get a screen to say the setup is complete, and we can see our domain listed in the admin center.

Azure AD Connect Installation
Once your domain is registered in the portal, you should now be in a position to synchronise your user accounts so its time to install and configure Azure AD Connect.
To do this, we go to the “Users” menu and select “Active Users”. Once that screen appears, we click on the “ellipses” and select “Directory synchronization”:

This brings us to a screen with an external link to download the Azure AD Connect tool:


At the time of writing this post, the current Azure AD Connect version is 2.1.1.0 and is only supported on Windows Server 2016 and Windows Server 2019. There are a number of other prerequisistes that need to be satisfied before installing Azure AD Connect:
- Azure AD Tenant: this is created for you when you sign up for the Microsoft 365 Trial.
- Domain needs to be verified: we’ve done this above.
- The on-premise Active Directory forest and domain functional levels must be Windows Server 2003 or later. The domain controllers can run any level as long as this condition is met. This also means that you don’t need to install Azure AD Connect on a Domain Controller.
- The Domain Controller used by Azure AD during the setup must be writable and not a read-only domain controller (RODC). Even though you may have other writable domain controllers in your environment, Azure AD doesn’t support write redirects.
- Enabling the Active Directory recycle bin is recommended.
- The PowerShell execution policy neds to be set to “RemoteSigned” on the Server that Azure AD Connect is installed on.
- Installing on Windows Server Core is not supported.
- Finally as discussed in the last post, this is a good time to ensure the UPN and proxyAddress attributes are set correctly on your on-premise environment.
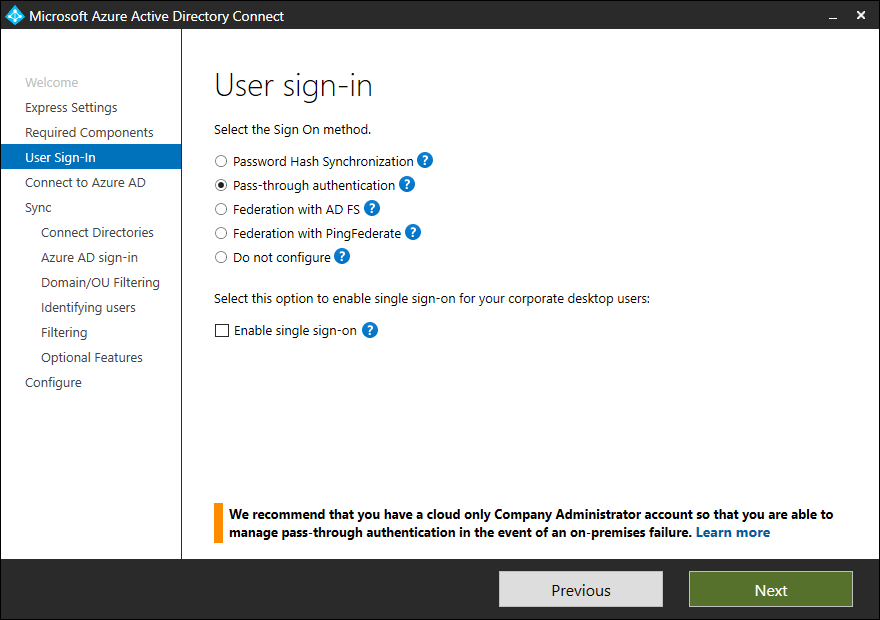
So now you can go ahead and install Azure AD Connect. As per the previous post, there are different authentication methods to choose from and these are available as install options in the Azure AD Connect installation wizard:
- Password Hash Synchronization (PHS) – this can be run as express installation and assumes the following:
- You have a single Active Directory forest on-premises.
- You have an enterprise administrator account you can use for the installation.
- You have less than 100,000 objects in your on-premises Active Directory.
With an Express installation, you get:
- Password hash synchronization from on-premises to Azure AD for single sign-on.
- A configuration that synchronizes users, groups, contacts, and Windows 10 computers.
- Synchronization of all eligible objects in all domains and all OUs. At the end of the installation, you can run the installation wizard again and choose to filter domains or OU’s.
- Automatic upgrade is enabled to make sure you always use the latest available version.
The other option is Pass-through authentication (PTA). If you have already run an express installation, all you need to do is select the “Change user sign-in” task from the Azure AD Connect application, select next and pick PTA as the sign-in method. Once successful, this will install the PTA agent on the same server as Azure AD Connect is installed on.
What you then need to do is ensure that Pass-through authentication is enabled on your tenant in the Azure AD Connect blade in your Azure AD tenant.

NOTE – if you turn this feature on, it will affect all users in your managed domain, and not just for signing on to Microsoft 365, but other services such as Azure or Dynamics that you may be using the tenant for. So you need to be very aware of the effects of making this change.
Your on-premise users and computers will now synchronize to your Microsoft 365 tenant.
Conclusion
So thats the quick tour of setting up your tenant, adding domains and confirming DNS settings, and installing and configuring Azure AD Connect.
In the next post, we’ll look at setting up the Hybrid Configuration to enable your on-premise Exchange environment to co-exist with your Microsoft 365 tenant during the migration process. Hope you enjoyed this post, until next time!
