
Welcome to Day 1 of my 100 Days of Cloud Journey.
I’ve always believed that good preparation is the key to success, and Day 1 is going to be about setting up the environment for use.
I’ve decided to split my 100 days across 3 disciplines:
- Azure, because it’s what I know
- AWS, because its what I want to know more about
- And the rest of it …. This could mean anything: GitOps, CI/CD, Python, Ansible, Terraform, and maybe even a bit of Google Cloud thrown in for good measure. There might even be some Office365 Stuff!
It’s not exactly going to be an exact 3-way split across the disciplines, but let’s see how it goes.
Let’s start the prep. The goal of the 100 Days for me is to try and show how things can be done/created/deleted/modified etc. using both GUI and Command Line. For the former, we’ll be going what it says on the tin and go clicking around the screen of whatever Cloud Portal we are using. For the latter, it’s going to be done in Visual Studio Code:

To download, we go to https://code.visualstudio.com/download , and choose to download the System Installer:

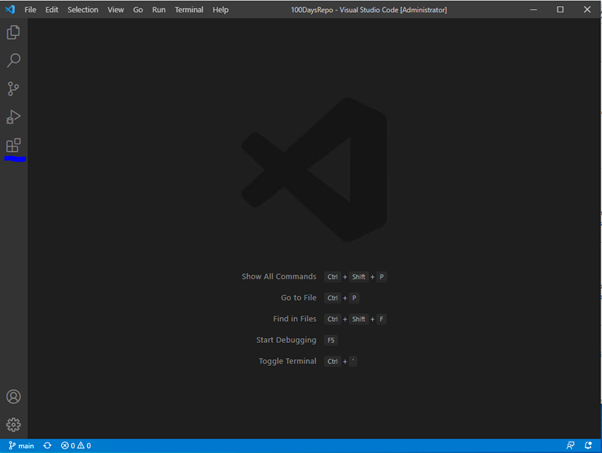
Once the download completes, run the installer (Select all options). Once it completes, launch Visual Studio Code:

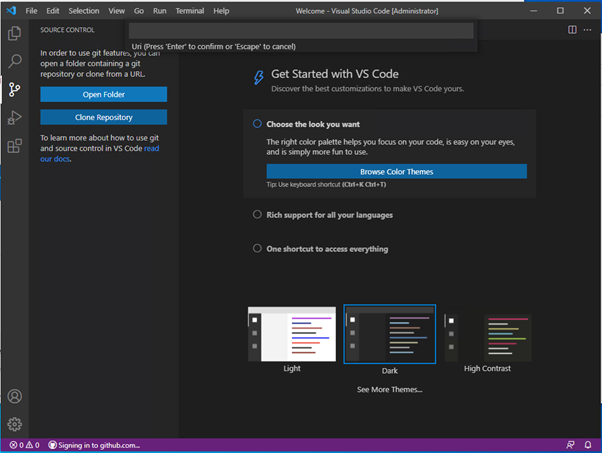
After selecting what color theme you want, the first place to go is click on the Source Control button. This is important, we’re going to use Source Control to manage and track any changes we make, while also storing our code centrally in GitHub. You’ll need a GitHub account (or if you’re using Azure GitOps or AWS Code Commit, you can use this instead). For the duration of the 100 Days, I’ll be using GitHub. Once your account is created, you can create a new repository (I’m calling mine 100DaysRepo)

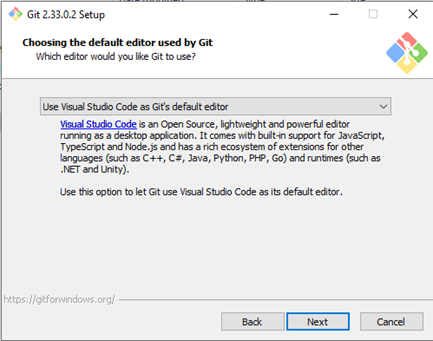
So now, let’s click on the “install git” option. This will redirect us to https://git-scm.com, where we can download the Git installer. When running the setup, we can do defaults for everything EXCEPT this screen, where we say we want Git to use Visual Studio Code as its default editor:
Once the Git install is complete, close and re-open Visual Studio Code. Now, we see we have the option to “Open Folder” or “Clone Repository”. Click the latter option, at the top of the screen we are prompted to provide the URL of the GitHub Repository we just created. Enter the URL, and click “Clone from GitHub”:

We get a prompt to say the extension wants to sign into GitHub — click “Allow”:

Clicking “Allow” redirects us to this page, click “Continue”:

This brings us to the logon prompt for GitHub:

This brings up “Success” message and an Auth Token:

Click on the “Signing in to github.com” message at the bottom of the screen, and then Paste the token from the screen above into the “Uri” at the top:
Once this is done, you will be prompted to select the local location to clone the Repository to. Once this has completed, click “Open Folder” and browse to the local location of the repository to open the repository in Visual Studio Code.

Now, let’s create a new file. It can be anything, we just want to test the commit and make sure it’s working. So let’s click on “File-New File”. Put some text in (it can be anything) and then save the file with whatever name you choose:

My file is now saved. And we can see that we now have an alert over in Source Control:

When we go to Source Control, we see the file is under “Changes”. Right-click on the file for options:
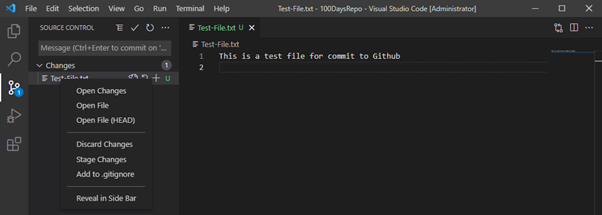
We can choose to do the following:
– Discard Changes — reverts to previous saved state
– Stage Changes — saves a copy in preparation for commit
When we click “Stage Changes”, we can see the file moves from “Changes” to “Staged Changes”. If we click on the file, we can see the editor brings up the file in both states — before and after changes:

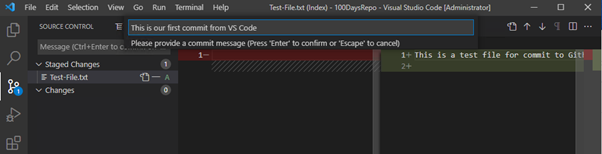
From here, click on the menu option (3 dots), and click “Commit”. We can also use the tick mark to Commit:
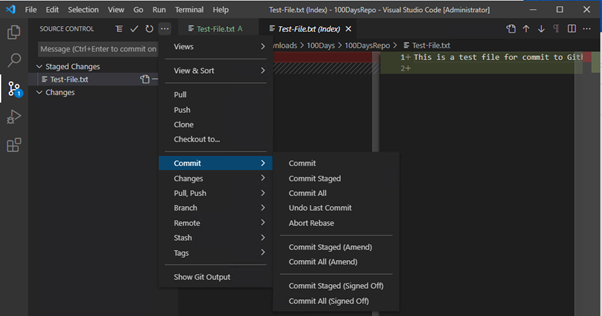
This then prompts to provide a commit message. Enter something relevant to the changes you’ve made here and hit enter:
And it fails!!!

OK, so we need to configure a Name and Email ID in GitBash. So open GitBash and run the following:
git config — global user.name “your_name”
git config — global user.email “your_email_id”

So let’s try that again. We’ll commit first:

Looks better, so now we’ll do a Push:

And check to see if our file is in VS Code? Yes it is!
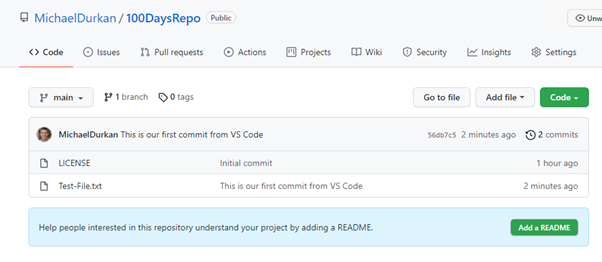
OK, so that’s our Repository done and Source Control and cloning with GitHub configured.
That’s the end of Day 1! As we progress along the journey and as we need them, I’ll add some Visual Studio Code extensions which will give us invaluable help along the journey. You can browse these by clicking on the “Extensions” button on the right:
Extensions add languages, tools and debuggers to VS Code which auto-recognize file types and code to enhance the experience.
Hope you enjoyed this post, until next time!!

Slight correction when configuring name and email id in git bash in your examples.
Needs double hypen instead of single 🙂
LikeLike