Its Day 7 of my 100 Days of Cloud journey and in todays post, I’m going to do the same thing I did for the last 2 days … except again, differently.
That’s right dear reader, today is the third and final post in what I’ve decided to call the “Azure Virtual Machine Deployment Trilogy”. It has a nice ring to it, doesn’t it? I wonder who’ll play me in the lead role once the movie rights get picked up ……
Anyway, back to reality. Over the last 2 days, we’re now fully up to speed in what we’re trying to achieve here. Day 5 dealt with deploying via the Azure Portal, Day 6 dealt with PowerShell deployment and the various parameters, inputs and in some cases “gotchas” that we needed to be aware of.
Some Checks and Housekeeping
Before I go any further, if you recall I was going to check Cost Management to see if my deployments are generating any costs (Actual or Forecast) or alerts that were set up in Day 2. And yes they are:

So I’m going to delete the entire Resource Group from the default “MyPSTestVM” deployment as I don’t want to keep paying for it:
Remove-AzResourceGroup -Name MyPSTestVM
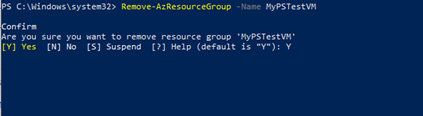
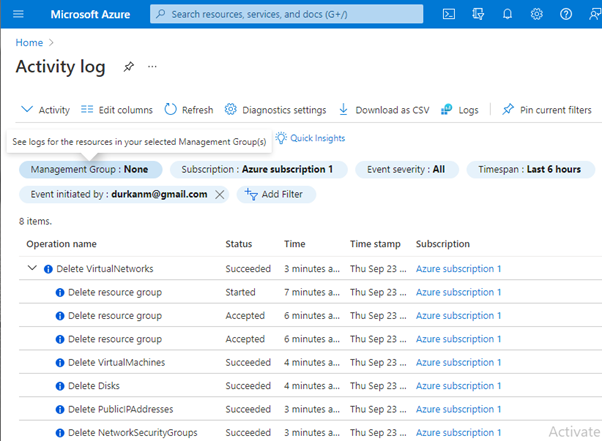
This takes a few minutes (so don’t worry if the PowerShell prompt just sits there. Don’t forget, deleting the resource group deletes all of the Resources it contains. After a few minutes, I’ll check the Activity Log in the Portal and it confirms that the RG and all resources have been deleted:
ARM Templates
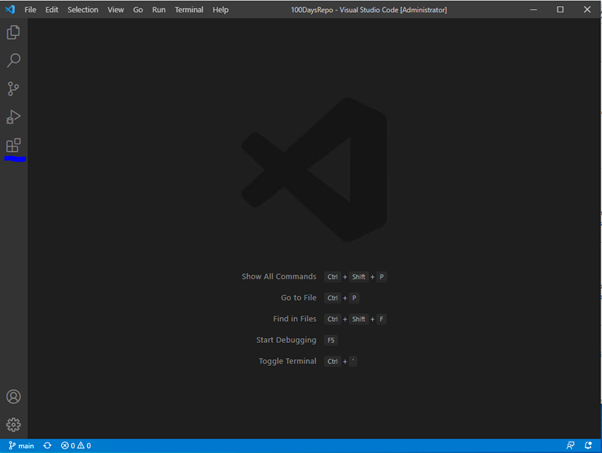
Today, we’re moving on to Azure Resource Manager (or ARM) Templates. In Day 1, I prepared the environment by installing Visual Studio Code and installing the ARM Tools. So let’s dive in and see what we can do with ARM templates.
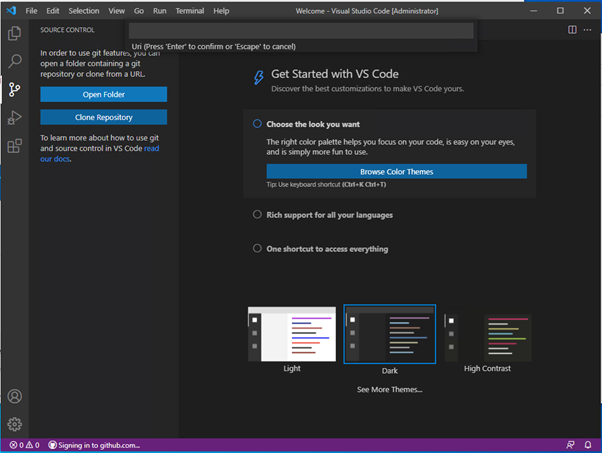
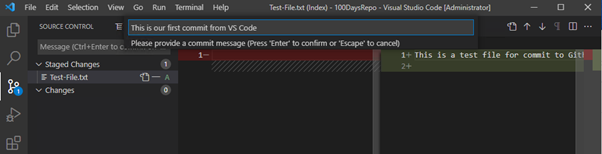
I open Visual Studio Code on my machine, and as you can see I’m in my 100DaysRepo that I created and merged from GitHub. I’m going to create a new folder by clicking the “New Folder” button, and call it “Day7-AzureARMTemplates”:

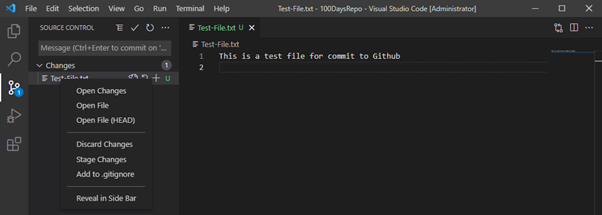
Next, I’m going to create a new file within that folder, and call it “vmdeploy.json”
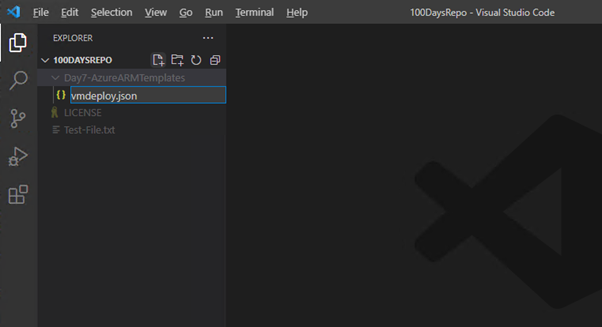
OK, so that’s my file. Now, I notice that the filename has brackets before it and is highlighted in green:

This is because I have the ARM Extension installed, and Visual Studio Code is recognizing this file as a JSON file.
A quick word on JSON — ARM Templates are JavaScript Object Notation (JSON) files that define the infrastructure and configuration for your project or deployment via code. This uses declarative syntax, and contains the following sections:
The template has the following sections:
- Parameters — Provide values during deployment that allow the same template to be used with different environments.
- Variables — Define values that are reused in your templates. They can be constructed from parameter values.
- User-defined functions — Create customized functions that simplify your template.
- Resources — Specify the resources to deploy.
- Outputs — Return values from the deployed resources.
For a more detailed explanation, I’ll refer you to Microsoft’s official documentation found here.
Back to Visual Studio Code — in my new file, I type the word “arm”, and this is what happens:

I select the first option for “Azure Resource Manager (ARM) Template” and press enter. And this is what I get:

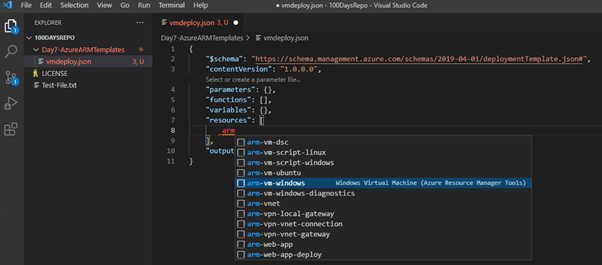
This is a standard JSON template that contains the options that I described above. But nothing about Azure yet though, so how can I deploy a Virtual Machine (or anything for that matter). In the “Resources” section, I’ll do a “CRLF” or “Return” to create a new line, and type in the word “arm again”:

Oh hello …. As I can see if I scroll through this list, there are multiple different deployments that can be used with ARM templates. However, I’ll scroll down and find “arm-vm-windows” and select that:
And when that happens, I get confronted with a wall of text that seems to go on and on and on …. :

170 lines in total! Can’t I just go back to the Portal or that one line PowerShell please?
No, I can’t. Because if I look really closely, its all broken up into sections that are easy to read. See the first 3 sections? Storage, Public IP Addresses and Network Security Groups. I’ve done that before! And in each of those sections, it contains things I recognize from our Portal and PowerShell posts, like Storage SKU, and Open Port ranges.

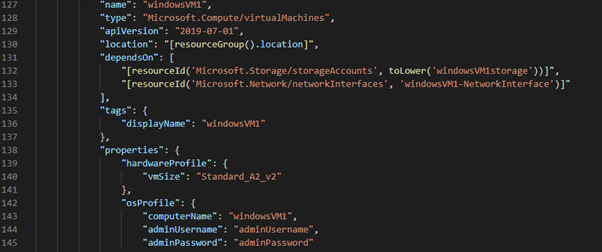
Further down, I see options for Virtual Network, Subnet, Network Interface, and Virtual Machine. All again with the same sets of parameters and options that were available in both previous posts:

The other thing I’m seeing is that the word “windowsVM1” is highlighted across the entire JSON. That’s because this is the default. And if I wanted to, I could deploy this as is into my Azure Subscription and it would do exactly the same as the short “New-AzVM” command did — it will create any resources that do not already exist using this naming convention. I’ll leave this in place for the purposes of the Demo, but would advise you to change this using your own company or personal naming convention prior to deployment.
The only thing that this won’t create is a Resource Group — I need to use either PowerShell or Azure CLI to do this. I’ll run the PowerShell command to do this:
New-AzResourceGroup -Name MyExampleARMRG -Location northeurope

One final thing I’m going to do is create a parameter for the Admin Password for the VM so that it prompts us during deployment to enter it. So back at the top of the template in the “parameters” section, I’ll do a return and type “arm”:
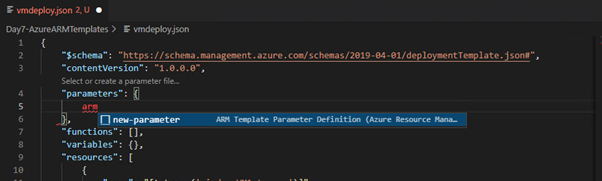
This gives me a dropdown to create a parameter. When I click on that, it gives me the layout to create the parameter:

I’ll change the parameter name to “adminPassword”, and also change the description:

Now, I need to scroll down and find the “adminPassword” in the resource section, and its under the Virtual Machines resource.
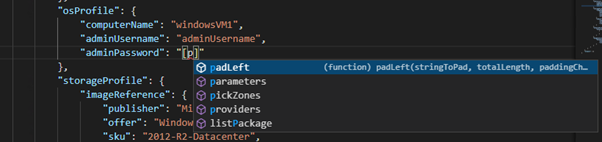
I’m going to delete the “adminPassword” description and call my parameter. To do this, I create square brackets [] and enter the letter “p”. As I can see, this gives me options to pick from and “parameters” is one of them:
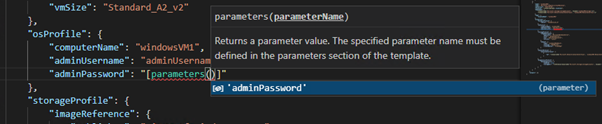
Once this is in, I then put in regular brackets (), and this gives me a list of the parameters I have defined. And this gives me the adminPassword parameter to accept here:
OK, so that’s my template file ready, isn’t it? Well, it is and we can deploy like this, but unless I go hunting in the portal for the PublicIPAddress, I’m not going to know where to connect to. To get around this, I’ll go down to the bottom of the template and create an Output to output the PuclicIPAddress to the screen. I do a return and type “arm”:

And this gives me new JSON format.

I’ll change “output1” to “PublicIPAddress”. In the “value” field, I start with square brackets [] and enter “r” and select “reference”:

Now, I need some regular brackets () and this gives me another list — I need to select “resourceId” from this list:

I now need another set of regular brackets (), and this now gives me a list where I can select the PublicIPAddress Type (or any other resource type if I wish):

The “resourceId” combines the resource type and name. So I need to put a comma after the type (still within the regular brackets), and this finds the name of my PublicIPAddress from the json:

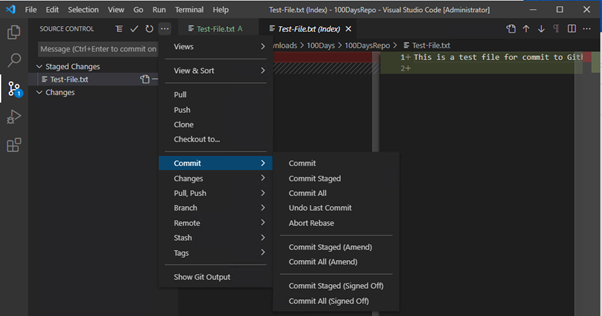
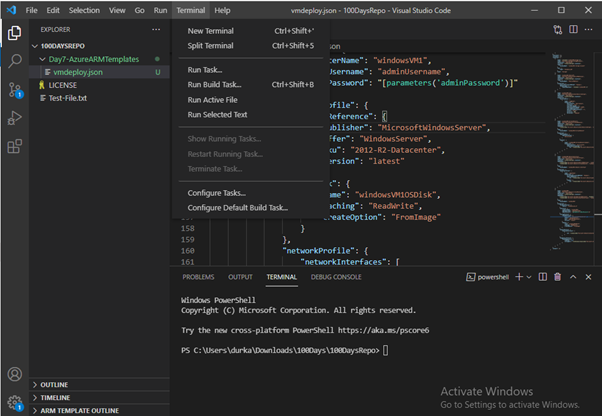
And that’s it! I can save this and go to PowerShell to deploy. Or I can do this from within Visual Studio Code by click the “Terminal” menu and selecting “New Terminal”. This will open a PowerShell Terminal at the bottom of the screen, and it defaults to the folder location of our Repository:
OK, so lets deploy. Instead of using “New-AzVM” as I did in the PowerShell post, I need to use “New-AzResourceGroupDeployment” command instead as I’m deploying directly to an existing ResourceGroup:
New-AzResourceGroupDeployment -ResourceGroupName MyExampleARMRG -TemplateFile .\Day7-AzureARMTemplates\vmdeploy.json

And this prompts me for the “adminPassword” which I enter.
And it fails! Ah, so I do need to change the “WindowsVM1” defaults.

So I go back into the file and replace “WindowsVM1” with something else. Then I’ll re-run the deployment:
New-AzResourceGroupDeployment -ResourceGroupName MyExampleARMRG -TemplateFile .\Day7-AzureARMTemplates\vmdeploy.json

Looks better, no errors returned as of yet ….
OK, so this time I have another failure, but its associated with the output that I created:

But the deployment did work as I can see the resources available in the Portal:

Hmmm, need to work out what’s gone wrong here. Its not exactly gone “wrong” as the deployment was successful, but I’d like to have this working fully without errors…..

So have scrabbled around this for a while, I finally worked out what was wrong (and its the lack of programmer in me that was at fault).
Firstly, the “outputs” section — I can’t just call this “PublicIPAddress” as that’s what the error was saying. So I tried calling it “publicIP” and this seems to have worked. From the official Microsoft documentation, the “outputs” name value needs to be a valid JavaScript identifier. I don’t have a list of accepted values and can’t find it anywhere, so if anyone does come across it, please drop a link into a comment and I’ll update the post!
Secondly, for the resource identifier, I needed to output a string value as this is what the output was expecting. So I needed to add “.dnsSettings.fqdn” to then end of the resourceId.
So the entire outputs section now looks like this:

And when I run the deployment again, everything now works and it outputs the DNSName of my VM to connect to.

So lets try it:

And it connects!

In this instance, I’m just going to delete all resources immediately by running
Remove-AzResourceGroup -Name MyExampleARMRG

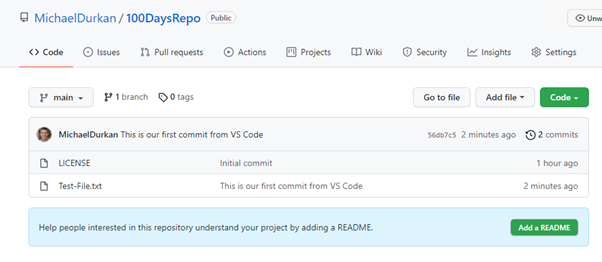
Final thing I need to do in Visual Studio Code is Commit and Push my changes into Github (See Day 1 for details). It important to do this with all of the projects you undertake as its means it reusable.
And that’s how to deploy an Azure VM using ARM templates! ARM templates are powerful and can be used not for just Virtual Machines, but any type of Azure Deployment.
I hope you enjoyed this post (despite the hiccups!). Until next time!!