
Its Day 48 of my 100 Days of Cloud Journey, and today I’m going to run through a quick demo of how to set up Azure Network Adapter.
In previous posts, I looked at the various connectivity offerings that Azure offer to allow access into a Virtual Network from either a peered VNET, an on-premise location using Site to Site VPN or Express Route, or a direct connection from a client PC using a Point to Site VPN.
For the majority of companies who are hosting resources in Azure, a Site to Site VPN will be the most commonly used model, however in most cases this extends their entire on-premise or datacenter location into Azure, and also give them visibility at the very least of all hosted resources.
Azure Network Adapter is a way to set up connectivity from on-premise servers running Windows Server 2019 directly into the Azure Virtual Network of your choice. By using Windows Admin Center to create the connection, this also creates the VPN Gateway Subnet and Certificate options. This eases the pain of creating connections between on-premises environments and Microsoft Azure public cloud infrastructure.
Lets have a look at how this is configured. There are some pre-requisites we need to make this work:
Using Azure Network Adapter to connect to a virtual network requires the following:
- An Azure account with at least one active subscription.
- An existing virtual network.
- Internet access for the target servers that you want to connect to the Azure virtual network.
- A Windows Admin Center connection to Azure.
- The latest version of Windows Admin Center.
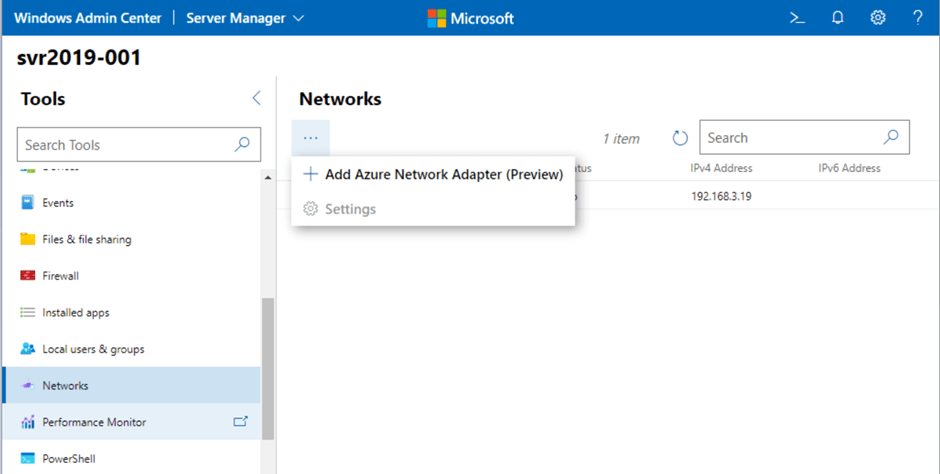
From Windows Admin Center, we browse to the Server we want to add the Azure Network Adapter to. We can see under Networks we have the option to “Add Azure Network Adapter (Preview)”:
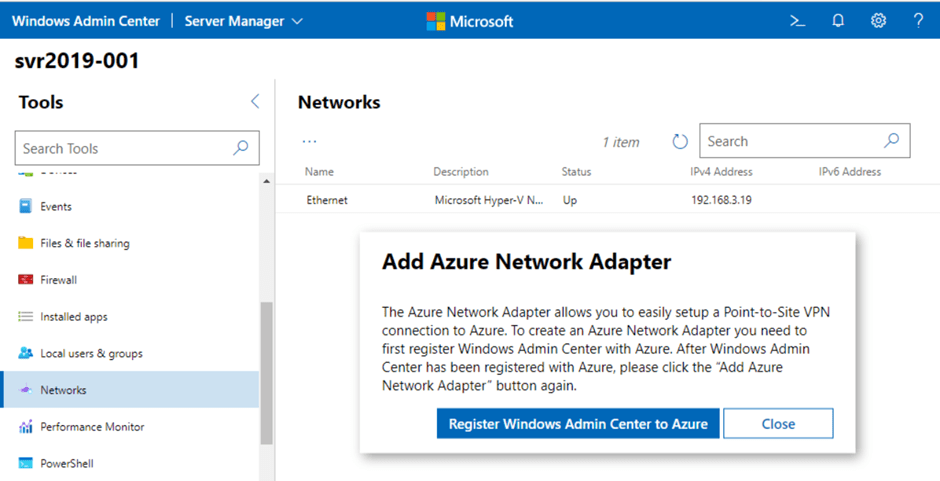
When we click, we are prompted to register Windows Admin Center with Azure:
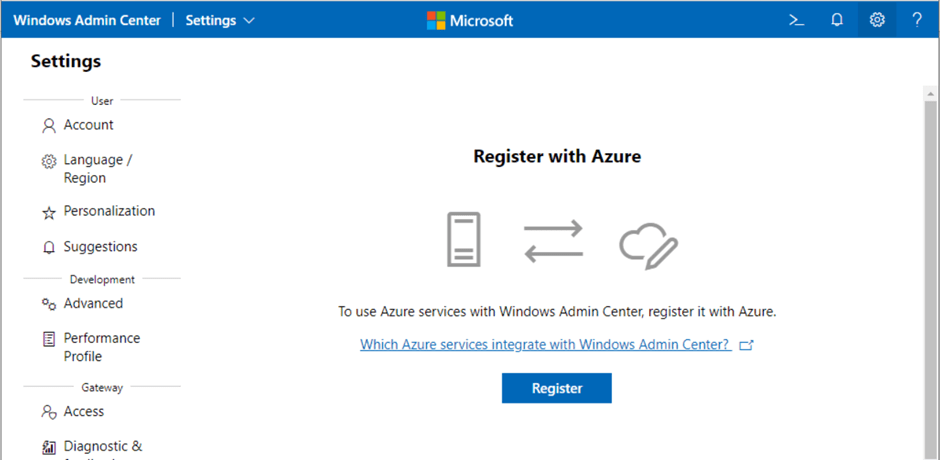
Clicking this brings us into the Account screen where we can register with Azure:
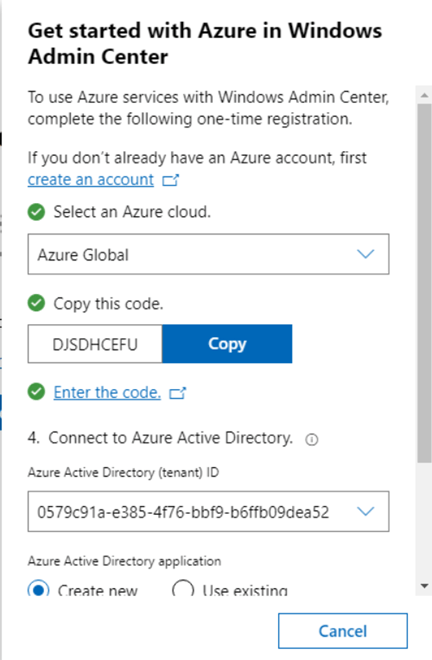
Follow the prompts and enter the correct information to connect to your Azure Tenant
Once we’re connected to Azure, we go back to our Server in Windows Admin Center and add our Azure Network Adapter:

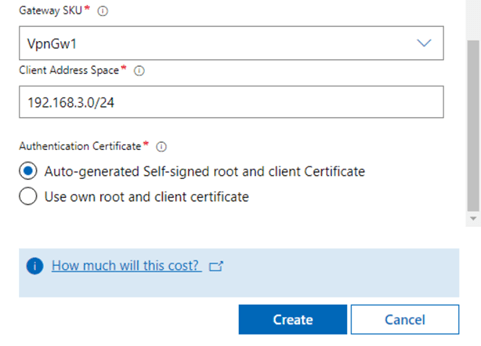
What this will do is both create the network connection to Azure (which is effectively a Point-to-Site VPN Connection) from our Server, but it also creates the VPN Gateway Subnet on the Virtual Network in our Azure Subscription. We also see that we can select a VPN Gateway SKU. When we click the “How much does this cost?” link, we can see pricing details for each of the available SKU’s.

We click create and see Success!! We also see that this can take up to 35 minutes to create.
We then get a notification to say our Point to Site Client Configuration has started:

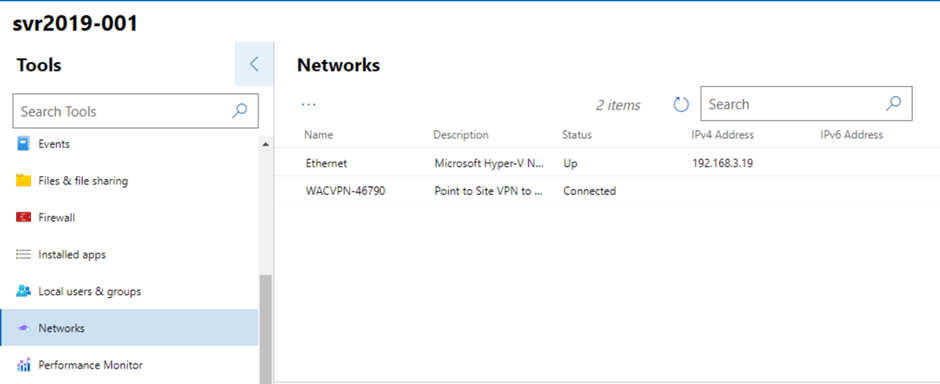
And once that’s completed, we can see our VPN is up and connected:
And we can also see our gateway resources have been created in Azure:

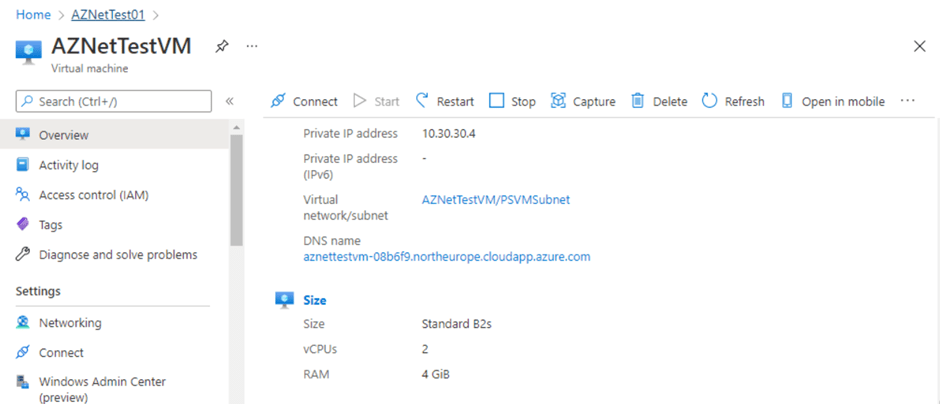
Now, lets see if we can connect directly to our Azure VM. We can see the Private IP Address is 10.30.30.4:
And if we try to open an RDP connection from our Server to the Azure VM, we get a response asking for credentials:

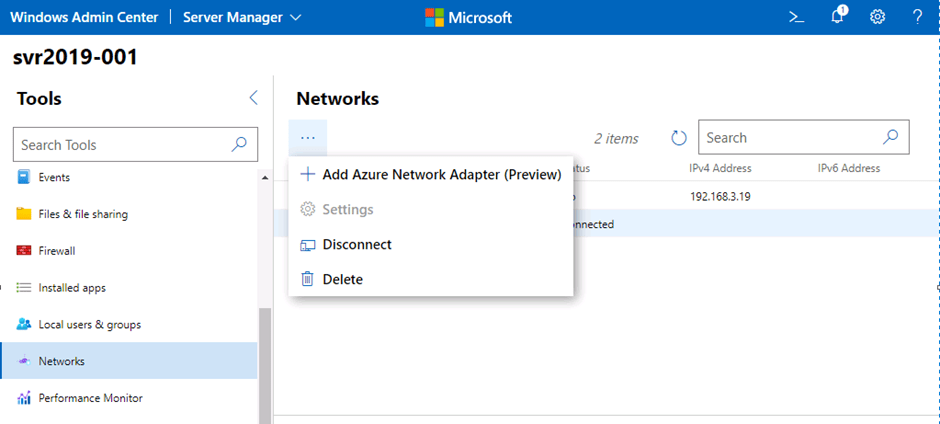
You can disconnect or delete the VPN connection at any time in Windows Admin Center by clicking on the “ellipses” and selecting the required option:
Go ahead and try the demo yourelves, but as always don’t forget to clean up your resources in Azure once you have finished!
Hope you enjoyed this post, until next time!

One thought on “100 Days of Cloud – Day 48: Azure Network Adapter”