Its Day 71 of my 100 Days of Cloud journey, and todays post is all about Microsoft Sentinel. This is the new name for Azure Sentinel, following on from the rebranding of a number of Microsoft Azure services at Ignite 2021.

Microsoft Sentinel is a cloud-native Security Information and Event Management (SIEM) and Security Orchestration, Automation, and Response (SOAR) solution. It provides intelligent security analytics and threat intelligence across the enterprise, providing a single solution for attack detection, threat visibility, proactive hunting, and threat response.
SIEM and SOAR
We briefly touched on SIEM and SOAR in the previous post on Microsoft Defender for Cloud. Before we go further, lets note what the definition of SIEM and SOAR is according to Gartner:
- Security information and event management (SIEM) technology supports threat detection, compliance and security incident management through the collection and analysis (both near real time and historical) of security events, as well as a wide variety of other event and contextual data sources. The core capabilities are a broad scope of log event collection and management, the ability to analyze log events and other data across disparate sources, and operational capabilities (such as incident management, dashboards and reporting).
- SOAR refers to technologies that enable organizations to collect inputs monitored by the security operations team. For example, alerts from the SIEM system and other security technologies — where incident analysis and triage can be performed by leveraging a combination of human and machine power — help define, prioritize and drive standardized incident response activities. SOAR tools allow an organization to define incident analysis and response procedures in a digital workflow format.
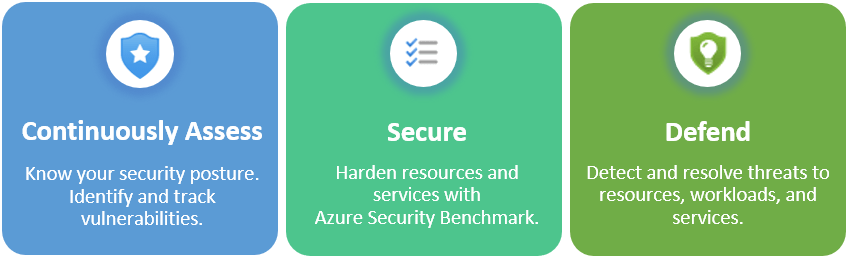
Overview of Sentinel Functionality
Microsoft Sentinel gives a single view of your entire estate across multiple devices, users, applications and infrastructure across both on-premise and multiple cloud environments. The key features are:
- Collect data at cloud scale across all users, devices, applications, and infrastructure, both on-premises and in multiple clouds.
- Detect previously undetected threats, and minimize false positives using Microsoft’s analytics and unparalleled threat intelligence.
- Investigate threats with artificial intelligence, and hunt for suspicious activities at scale, tapping into years of cyber security work at Microsoft.
- Respond to incidents rapidly with built-in orchestration and automation of common tasks.
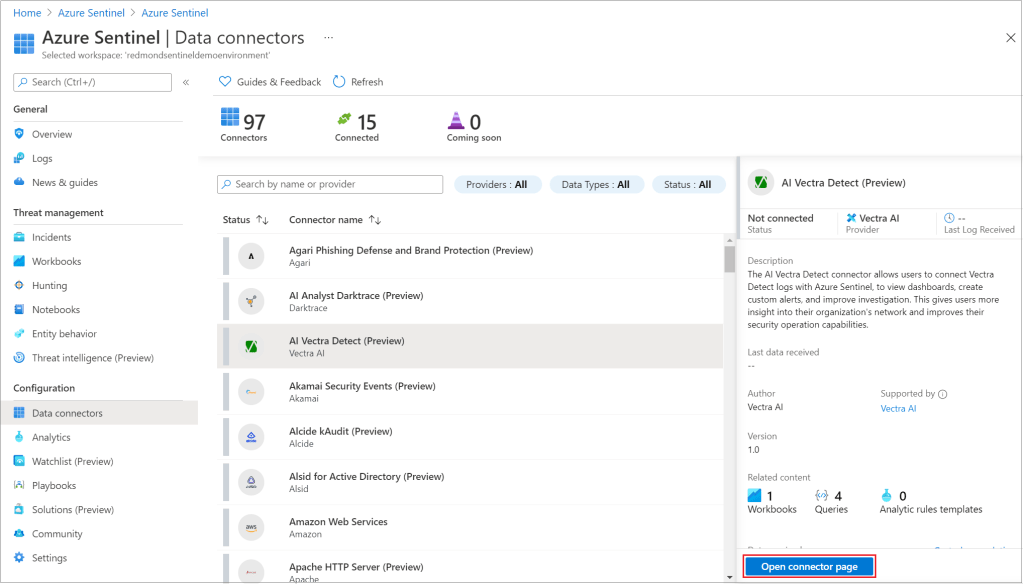
Sentinel can ingest alerts from not just Microsoft solutions such as Defender, Office365 and Azure AD, but from a multitude of 3rd-party and multi cloud providers such as Akamai, Amazon, Barracuda, Cisco, Fortinet, Google, Qualys and Sophos (and thats just to name a few – you can find a full list here). These are whats known as Data Sources and the data is ingested using the wide range of built-in connectors that are available:
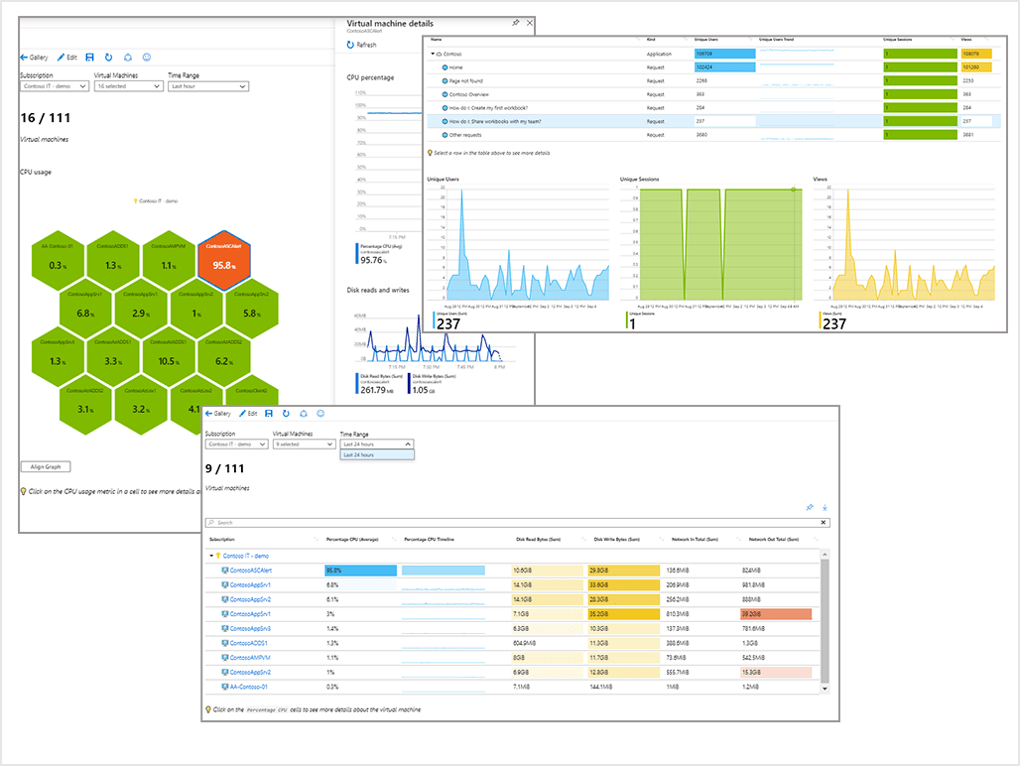
Once your data sources are connected, the data is monitored using Sentinel integration with Azure Monitor Workbooks, which allows you to visualize your data:
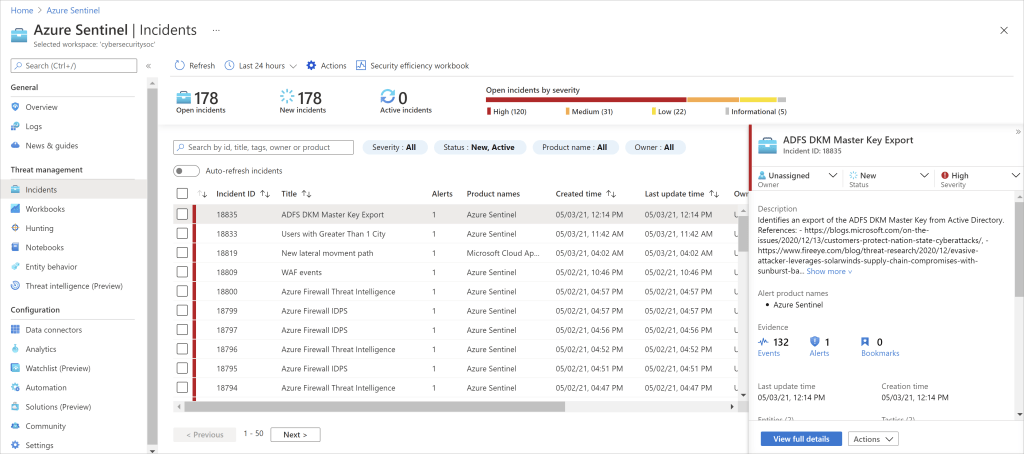
Once the data and workbooks are in place, Sentinel uses analytics and machine learning rules to map your network behaviour and to combine multiple related alerts into incidents which you can view as a group to investigate and resolve possible threats. The benefit here is that Sentinel lowers the noise that is created by multiple alerts and reduces the number of alerts that you need to react to:
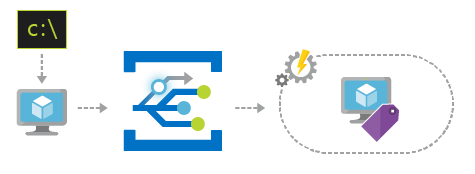
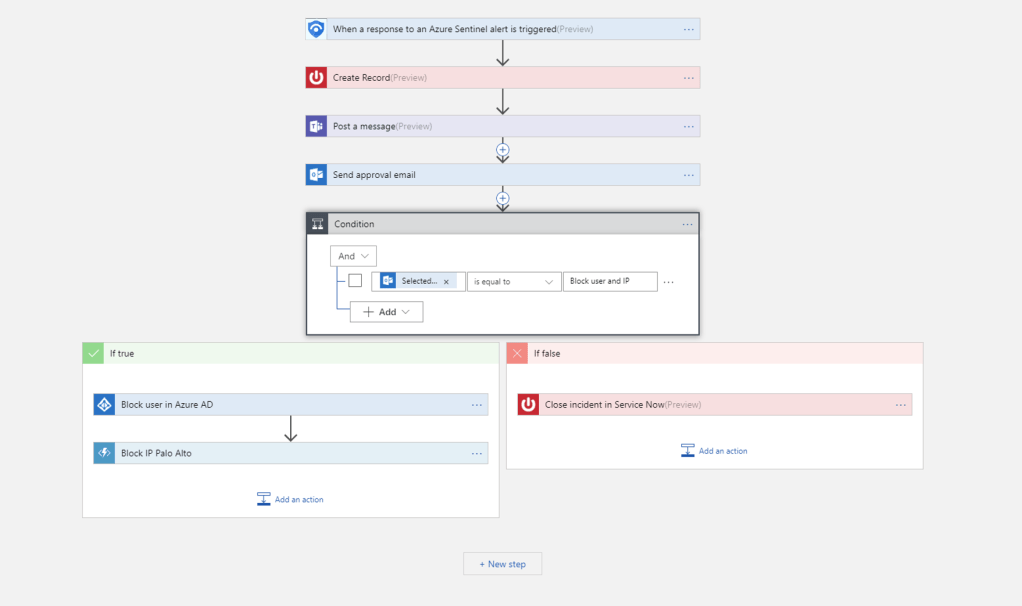
Sentinel’s autotmation and orchestration playbooks are built on Azure Logic Apps, and there is growing gallery of built-in playbooks to choose from. These are based on standard and repeatable events, and in the same way as standard Logic Apps are triggered by a particular action or event:
Last but not least, Sentinel has investigation tools that go deep to find the root cause and scope of a potential security threat, and hunting tools based on the MITRE Framework which enable you to hunt for threats across your organization’s data sources before an event is triggered.
Do I need both Defender for Cloud and Sentinel?
My advice on this is yes – because they are 2 different products that integrate and complement each other
Sentinel has the ability to detect, investigate and remediate threats. In order for Sentinel to do this, it needs a stream of data from Defender for Cloud or other 3rd party solutions.
Conclusion
We’ve seen how powerful Microsoft Sentinel can be as a tool to protect your entire infrastructure across multiple providers and platforms. You can find more in-depth details on Microsoft Sentinel here.
Hope you enjoyed this post, until next time!