Its Day 51 of my 100 Days of Cloud Journey, and today I sat Exam AZ-801: Configuring Windows Server Hybrid Advanced Services (beta).

AZ-801 is the second exam required for the new Windows Server Hybrid Administrator Associate certification, which was announced at Windows Server Summit 2021. The first is Az-800 (Administering Windows Server Hybrid Core Infrastructure), which I blogged about in a previous post last week.
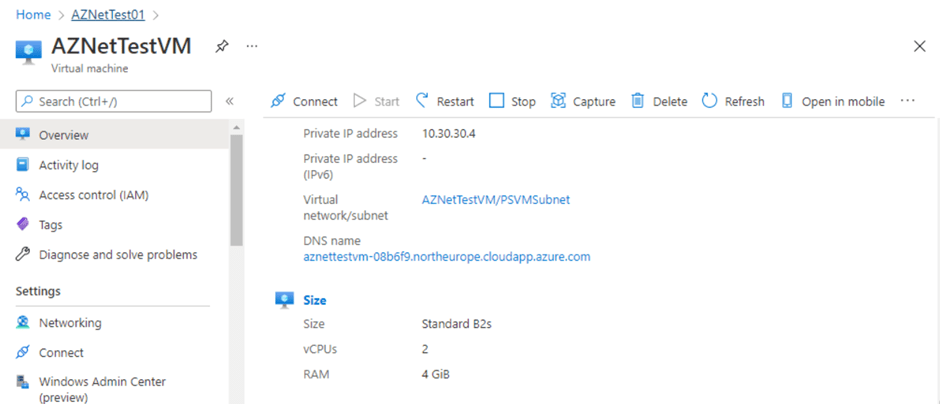
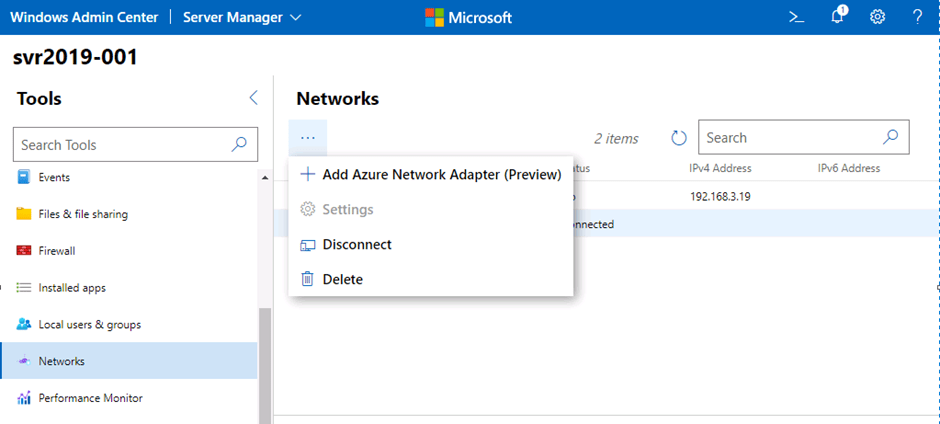
This certification is seen by many as the natural successor to the retired MCSE certifications which retired in January 2021, primarily because it focuses in some part on the on-premise elements within Windows Server 2019.
Because of the NDA, I’m not going to disclose any details on the exam, however compared to last weeks exam I felt that this exam is more heavily weighted towards Azure as opposed to last weeks exam which had a more even split. There are also some elements of Windows Server 2022 included in the exam.
The list of skills measured as their weightings are as follows:
- Secure Windows Server on-premises and hybrid infrastructures (25-30%)
- Implement and manage Windows Server high availability (10-15%)
- Implement disaster recovery (10-15%)
- Migrate servers and workloads (20-25%)
- Monitor and troubleshoot Windows Server environments (20-25%)
Like all beta exams, the results won’t be released until a few weeks after the exam officially goes live so I’m playing the waiting game! In the meantime, you can check out these resources if you want to study and take the exam:
- Official Exam Page with Microsoft Learn path
- Thomas Maurer’s Certification Overview
- Charbel Nemnom’s Study Guide
- Orin Thomas’s exam overview on YouTube
- Tim Warner’s NDA-Friendly Exam Review thread on Twitter
Hope you enjoyed this post, until next time!